¶ Create your first DEV instance
Embark on setting up your first development instance smoothly on Runodoo in a matter of minutes. Launching an Odoo instance has never been so simple.
¶ Go to console.run-odoo.com
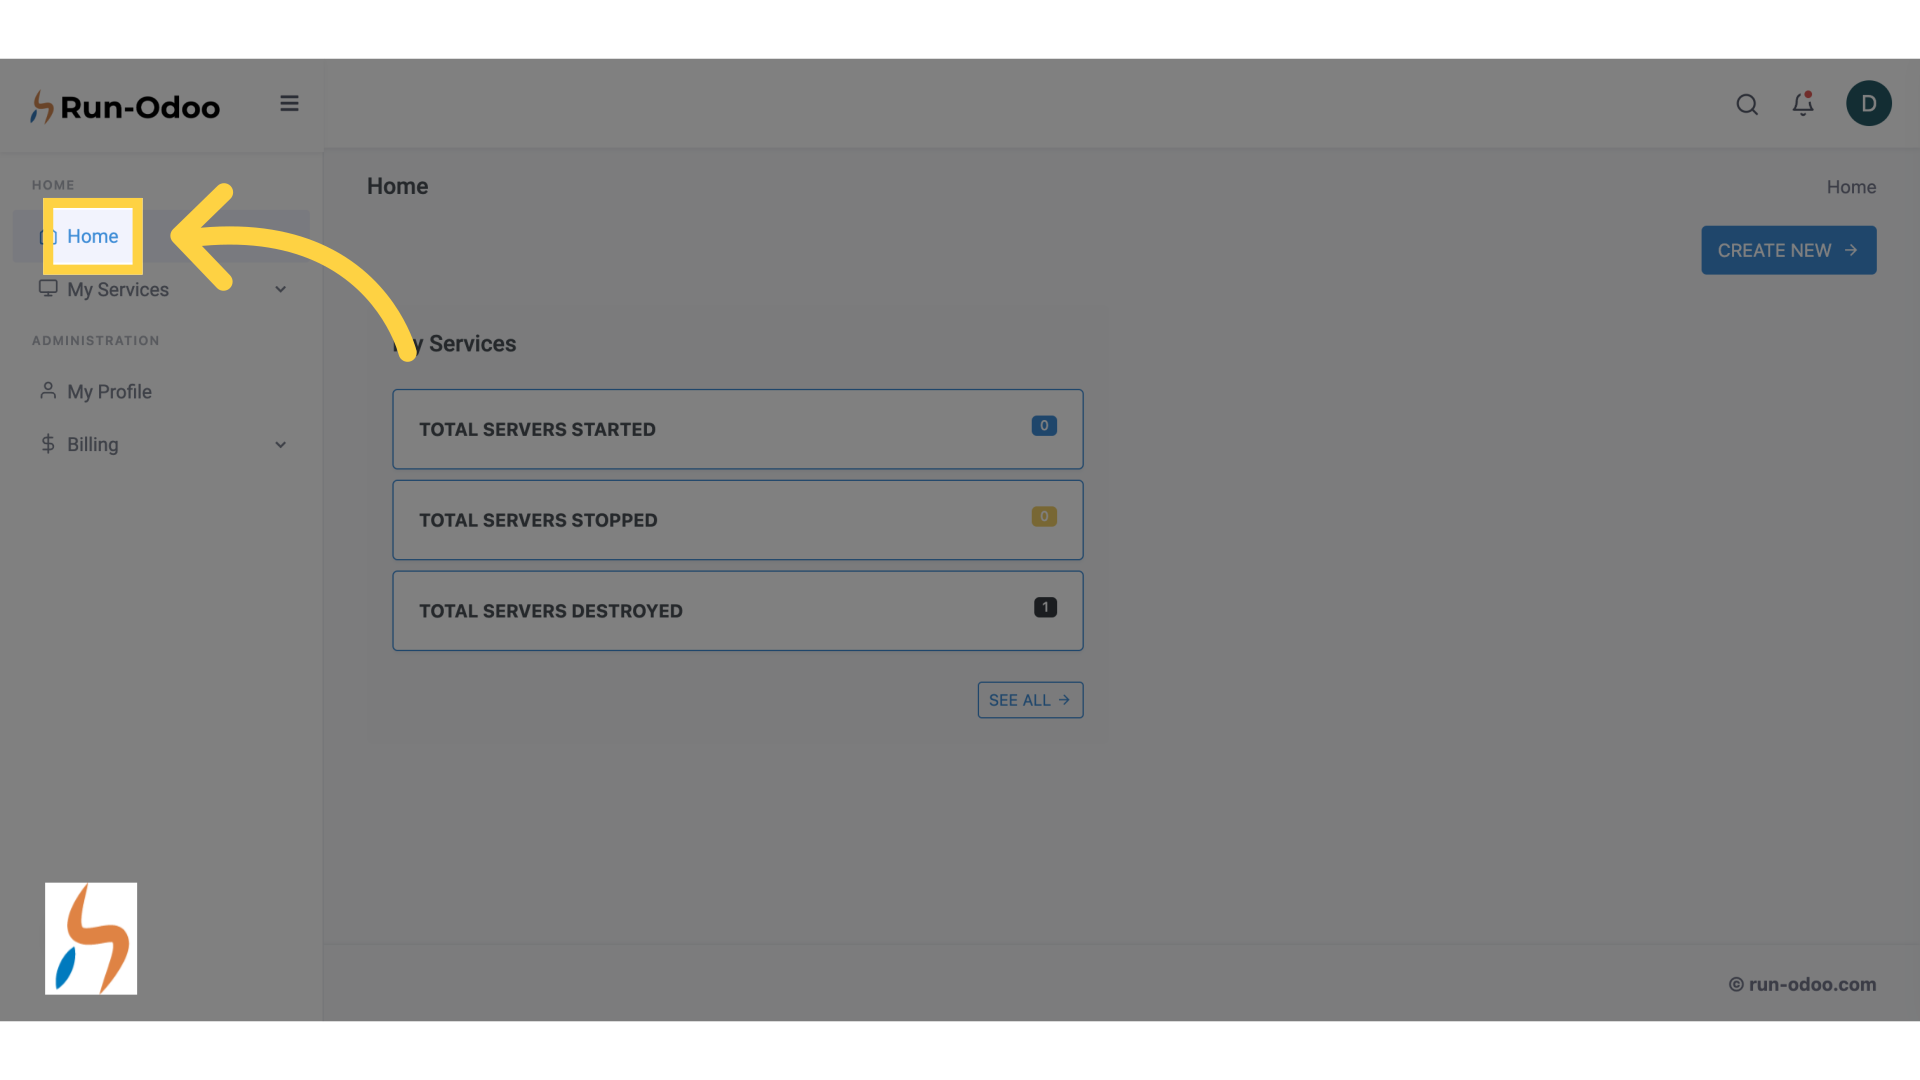
¶ 1. Click "Home"
Once you have logged into the console, navigate to the home screen.
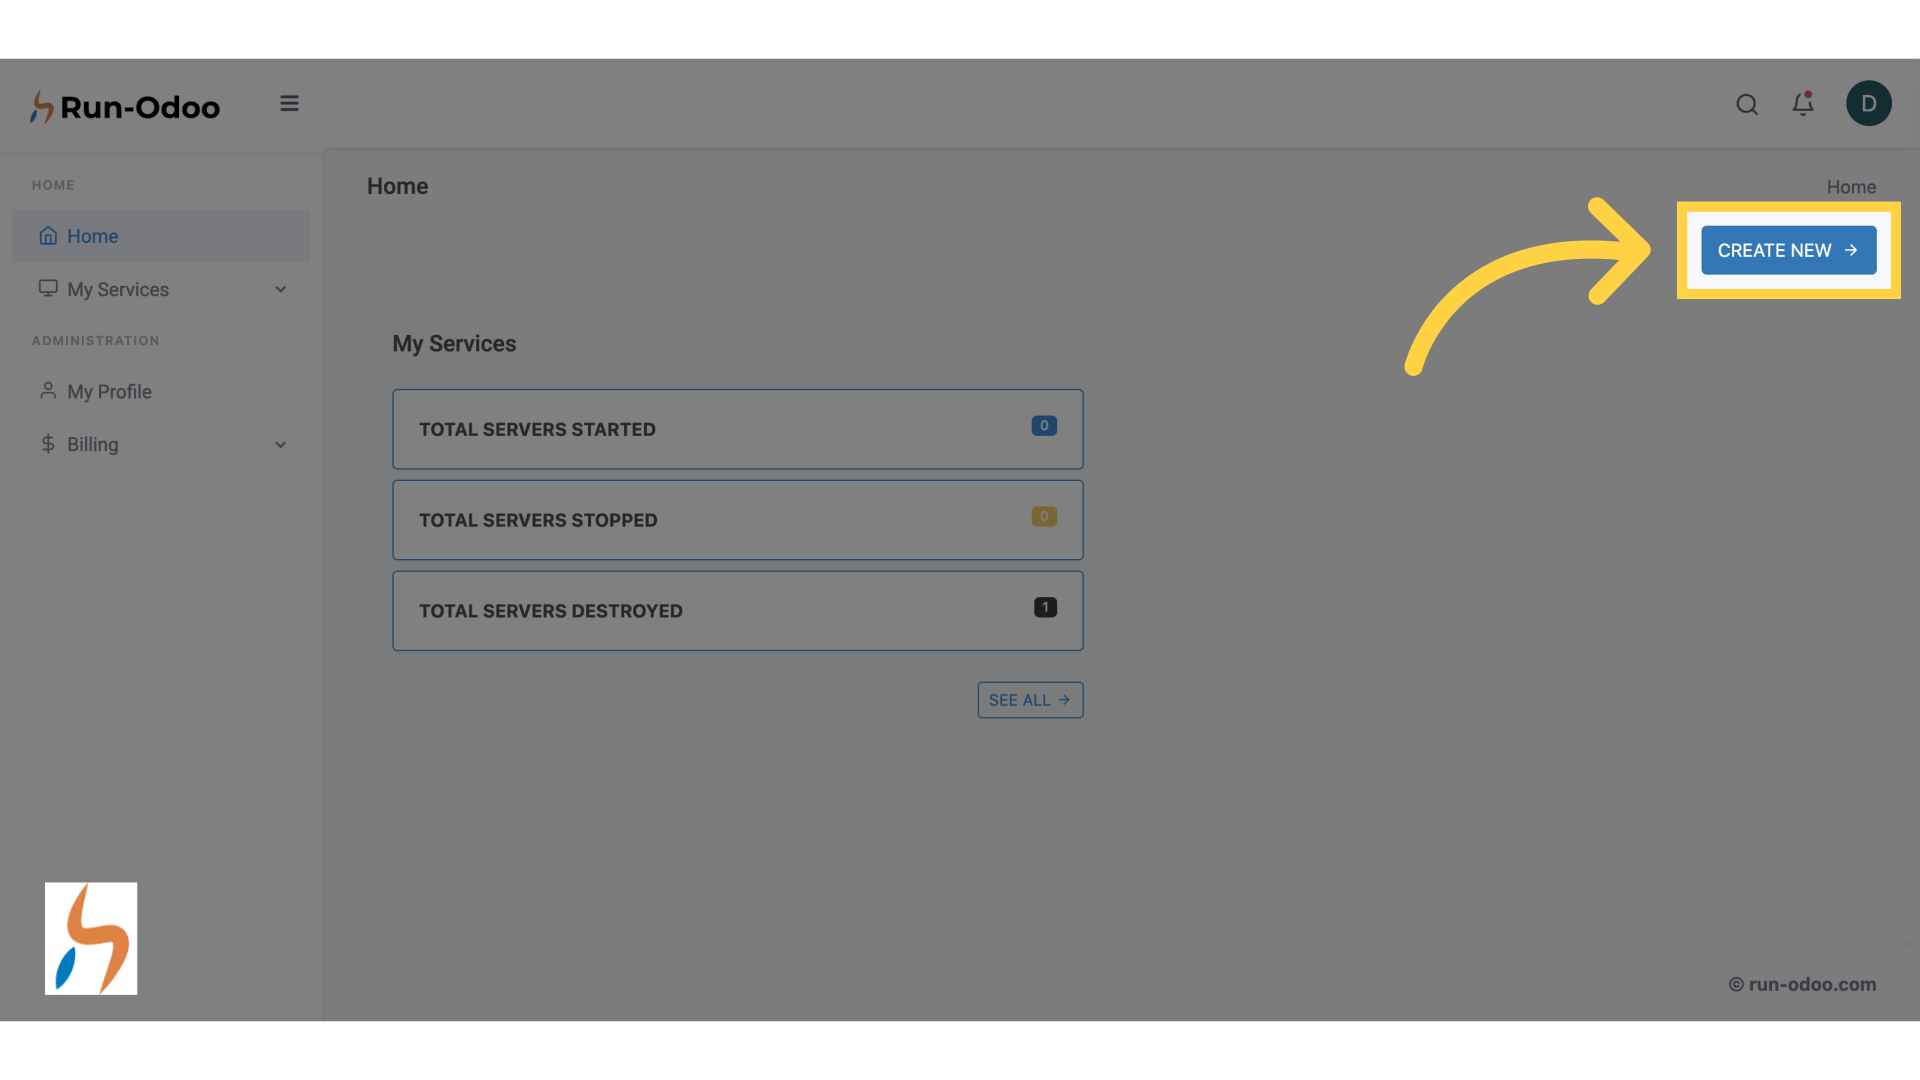
¶ 2. Click "CREATE NEW"
Initiate the creation of a new instance.
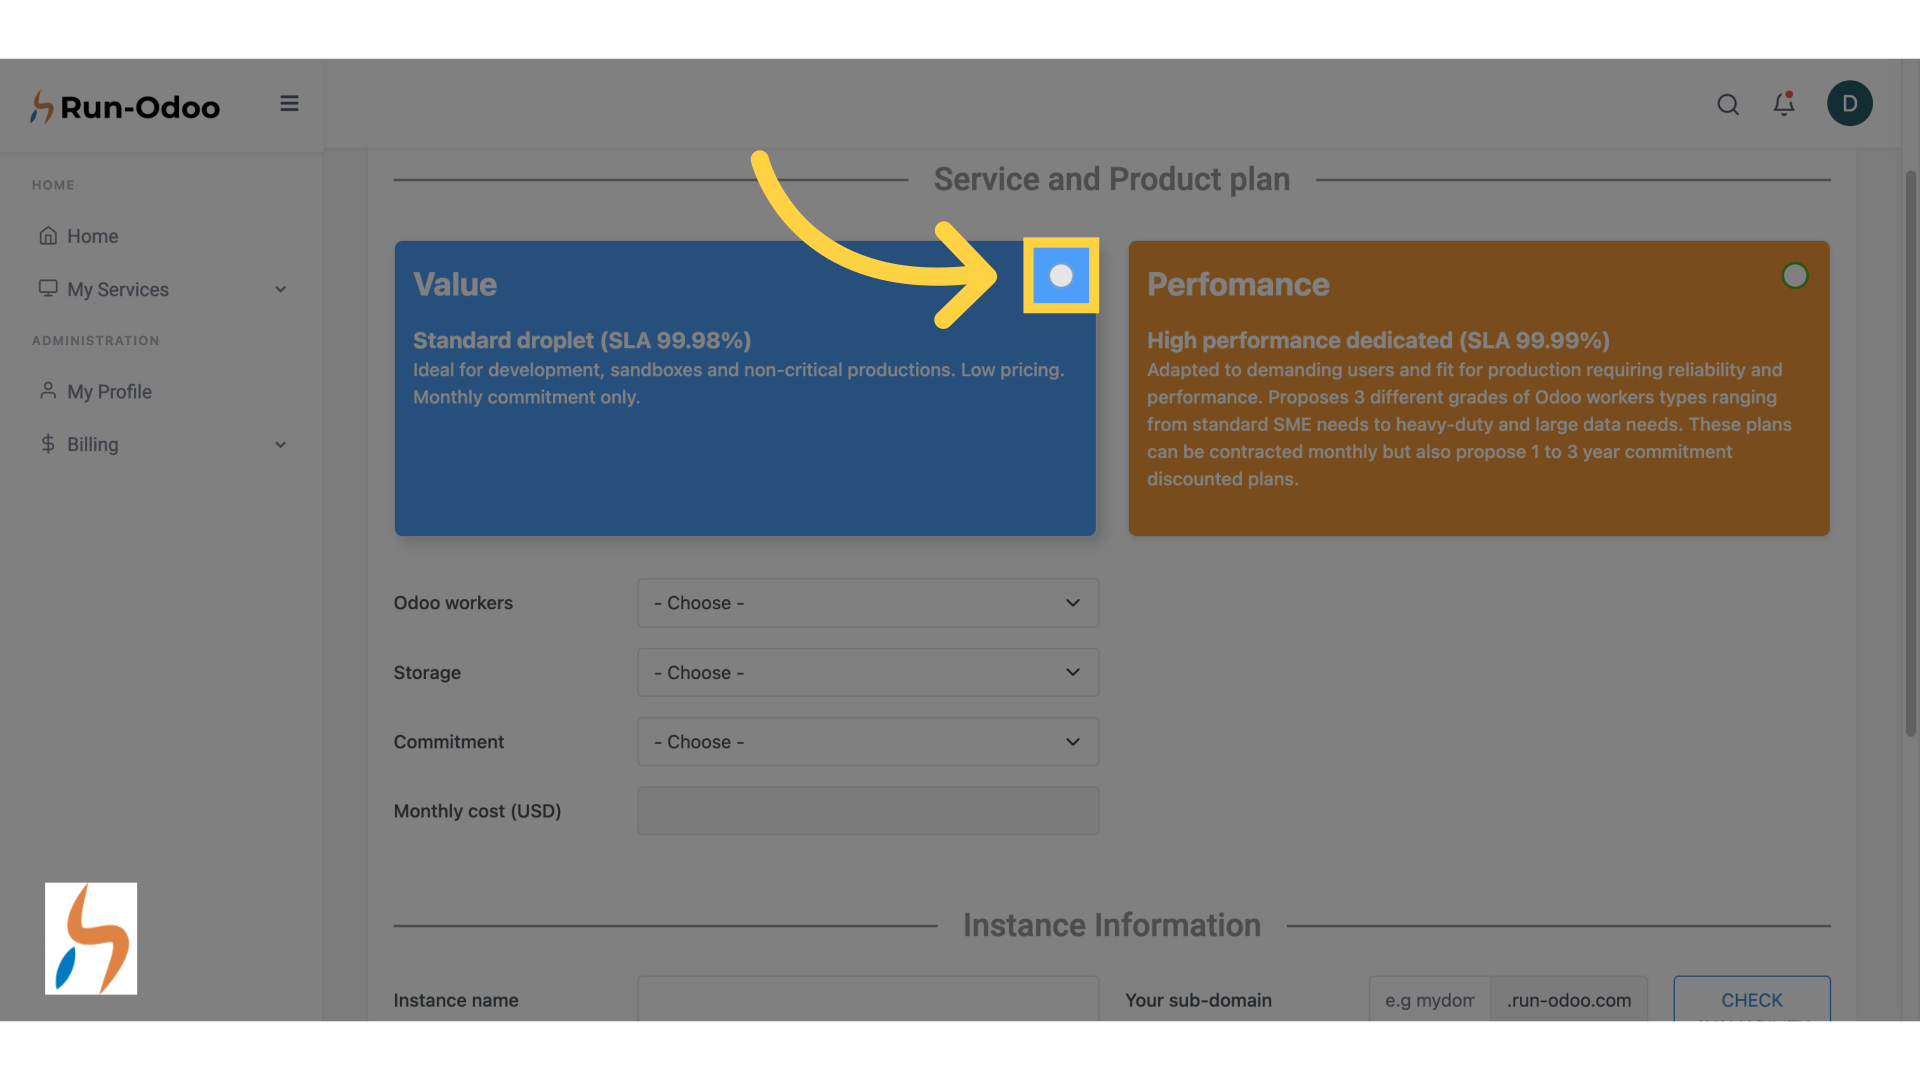
¶ 3. Select the "Value" type
Let's pick a VALUE package here since we want to use this instance for development purposes.
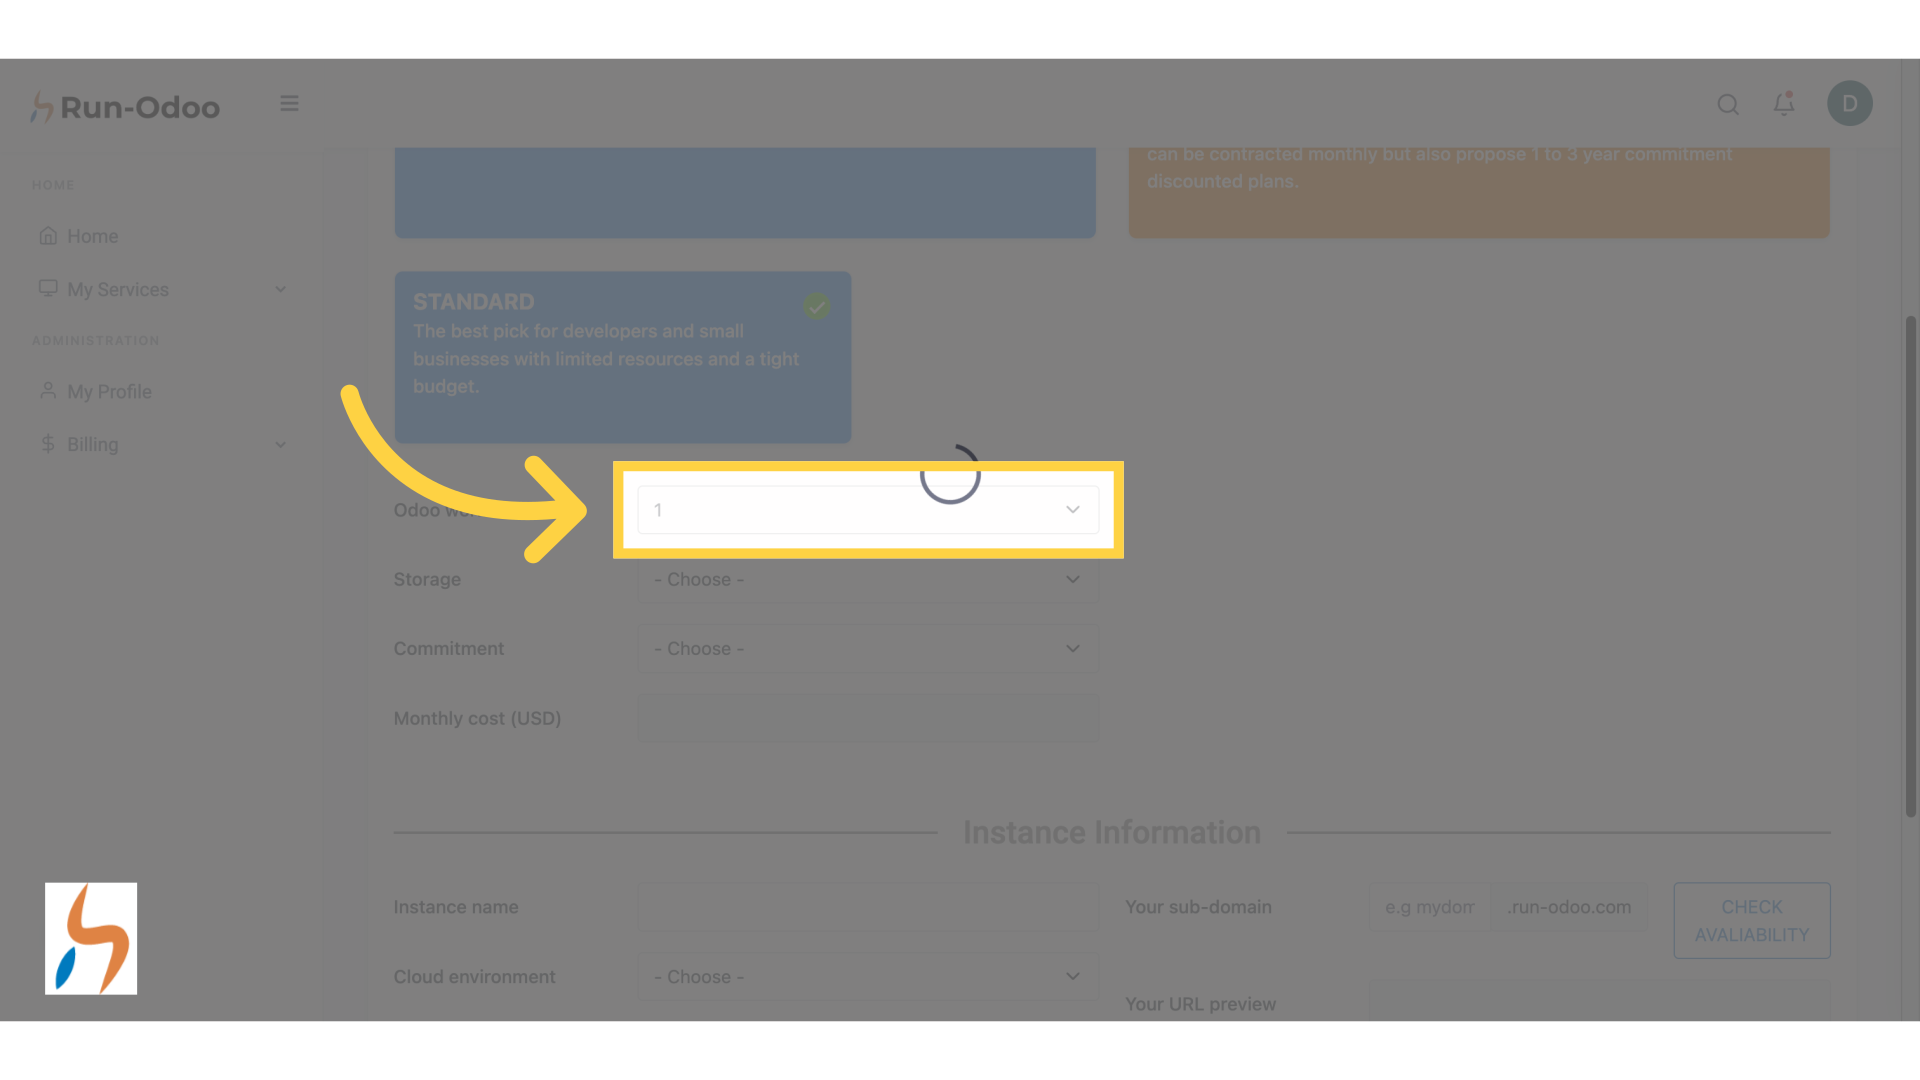
¶ 4. Choose your number of Odoo workers
Pick the number of Odoo workers you need.

¶ 5. Let's pick 1 worker
Choose a number of workers depending on how powerful you need this development instance to be. In this case, for standard development, one worker is already enough.
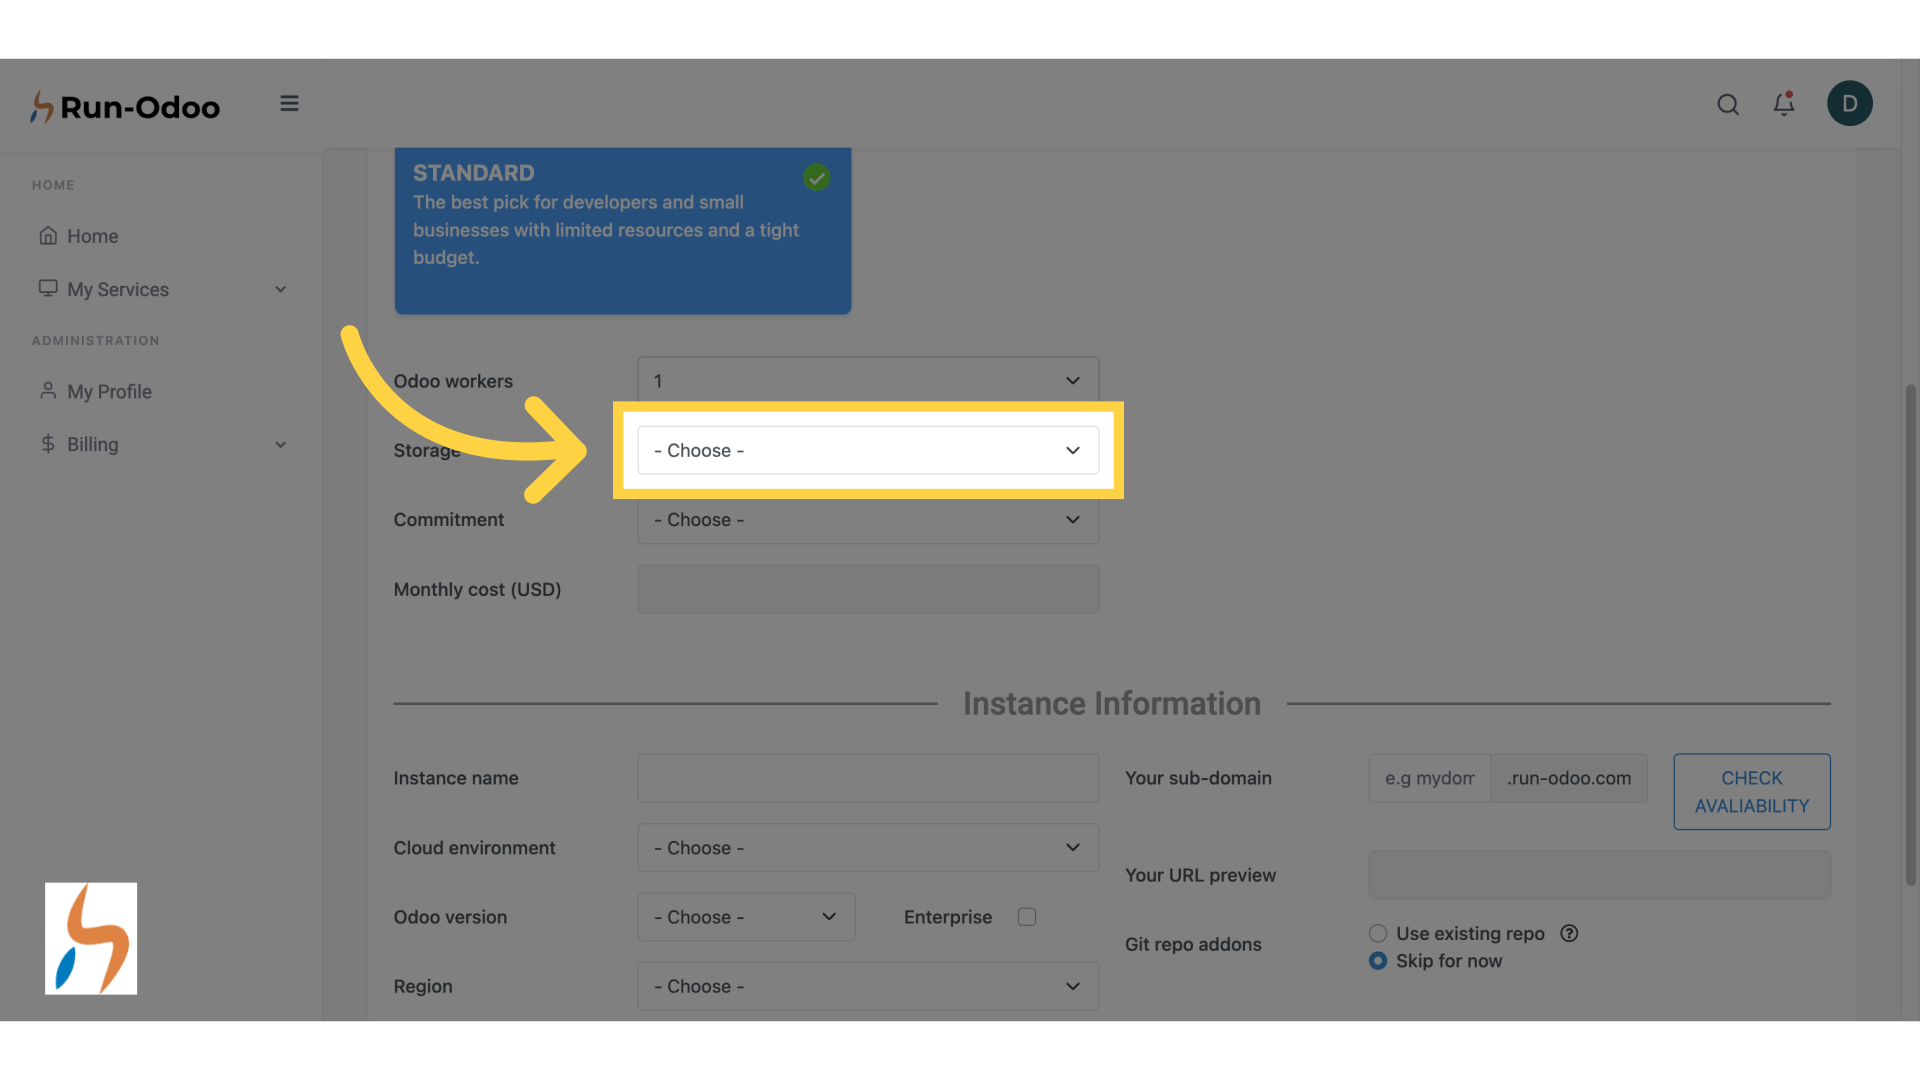
¶ 6. Choose your storage capacity
Pick a storage capacity
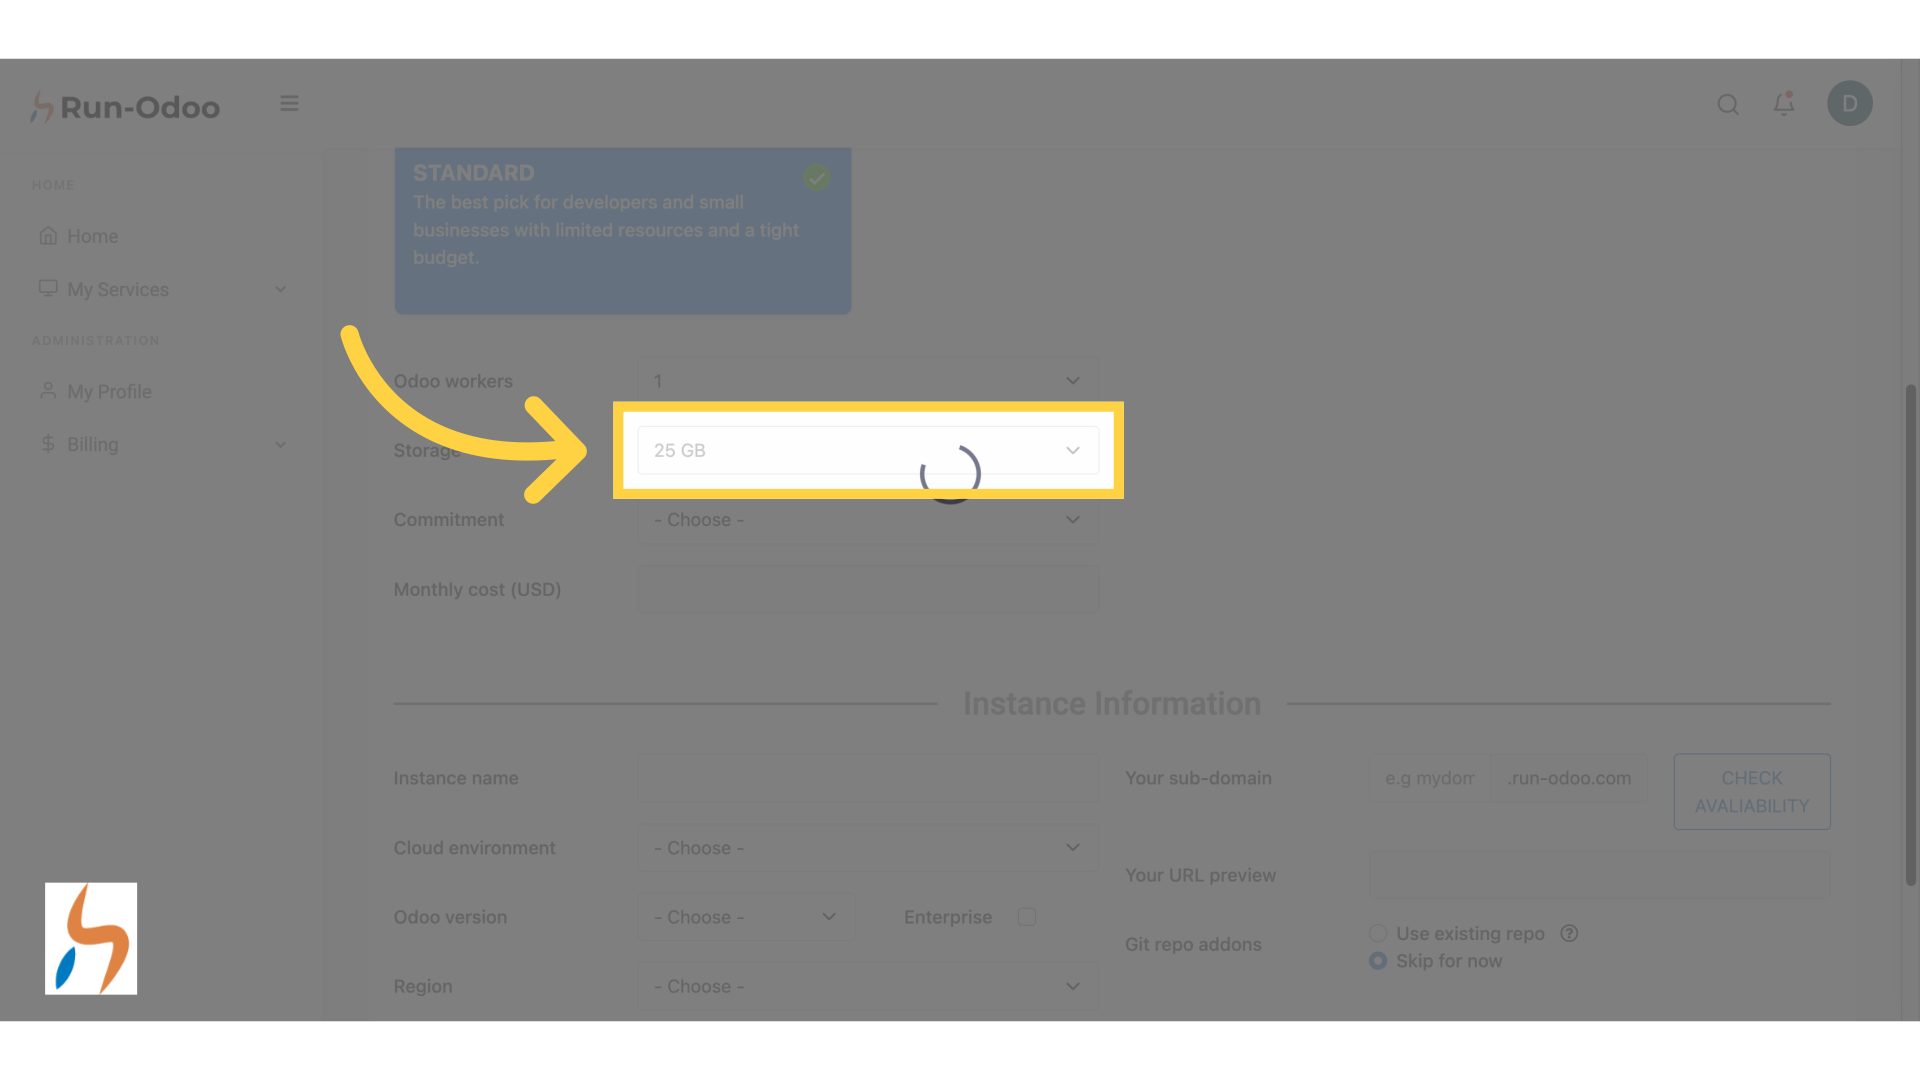
¶ 7. Let's choose 25GB storage
We are picking the 25 Gigabytes capacity since there is not much data in general inside a development instance.
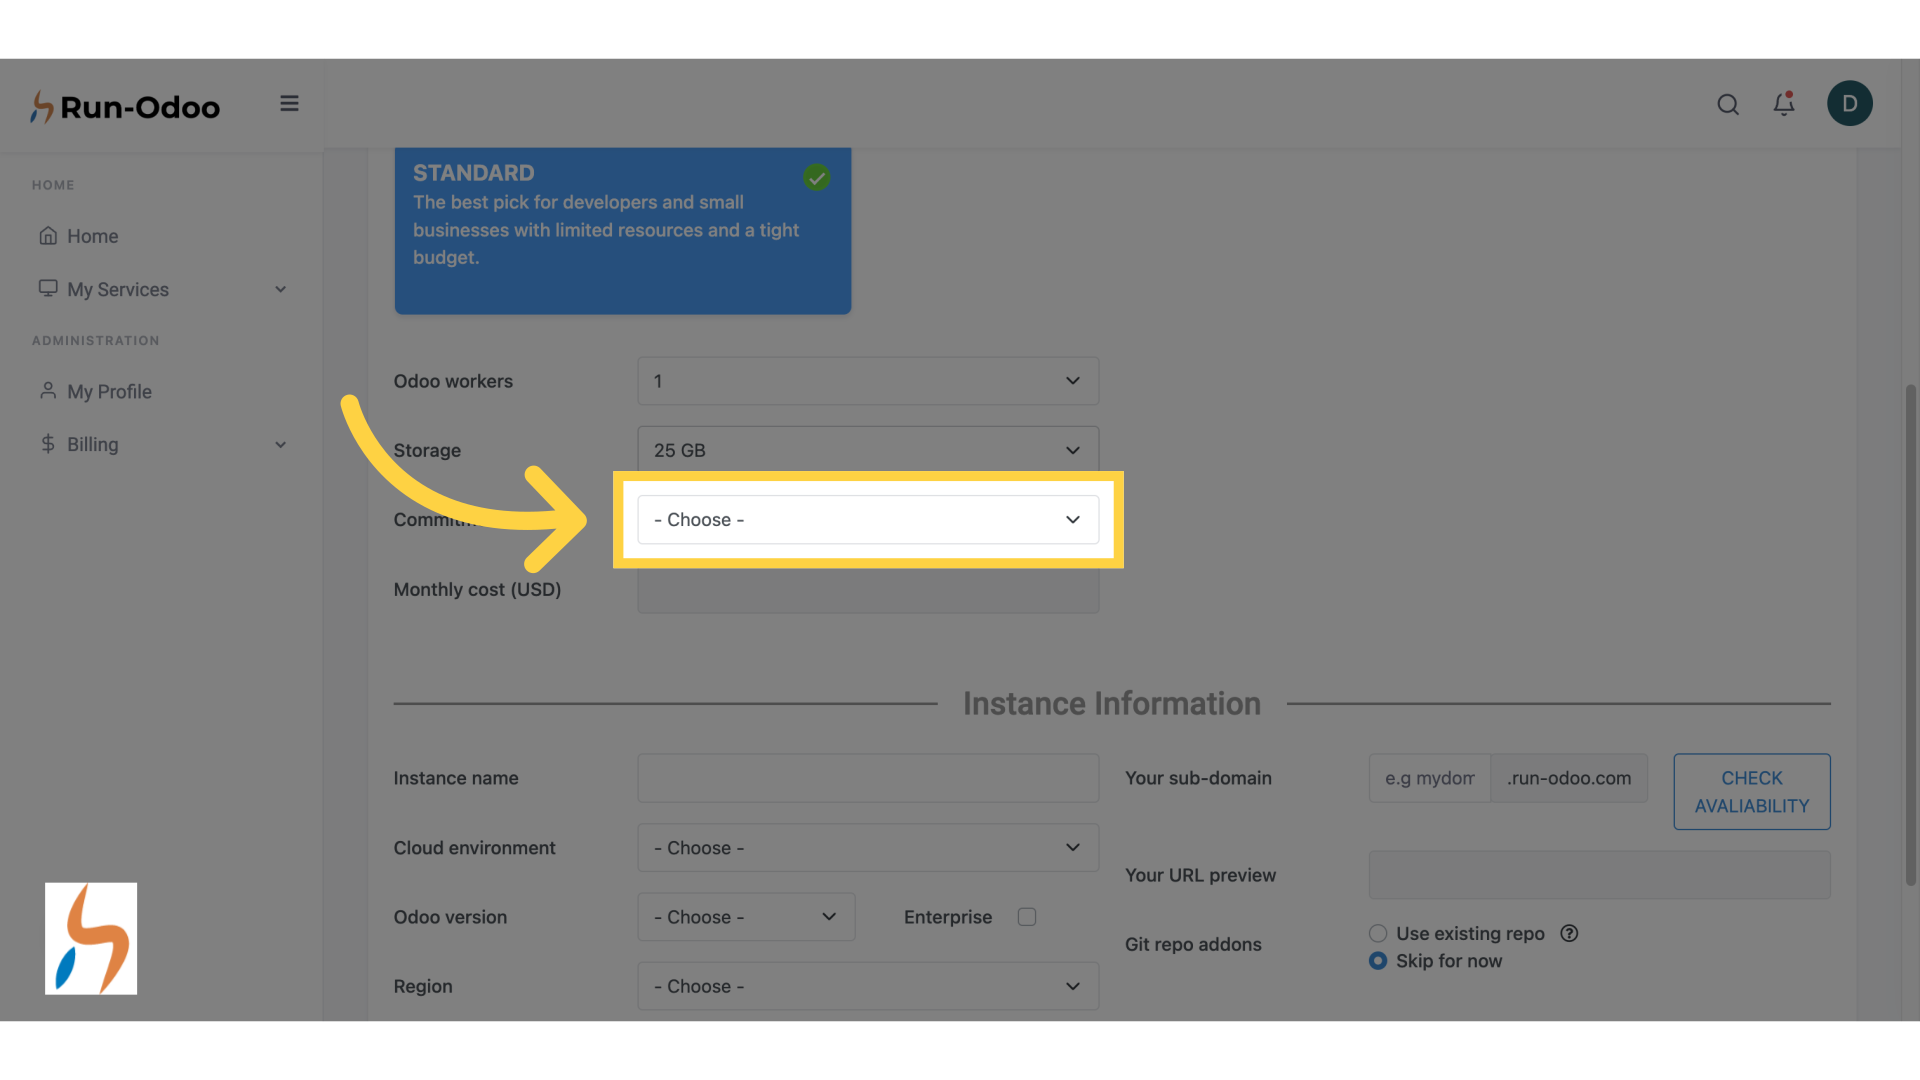
¶ 8. Confirm your engagement period
Confirm the Monthly commitment period. If you wish to commit yearly or up to three years, check our Performance offers.
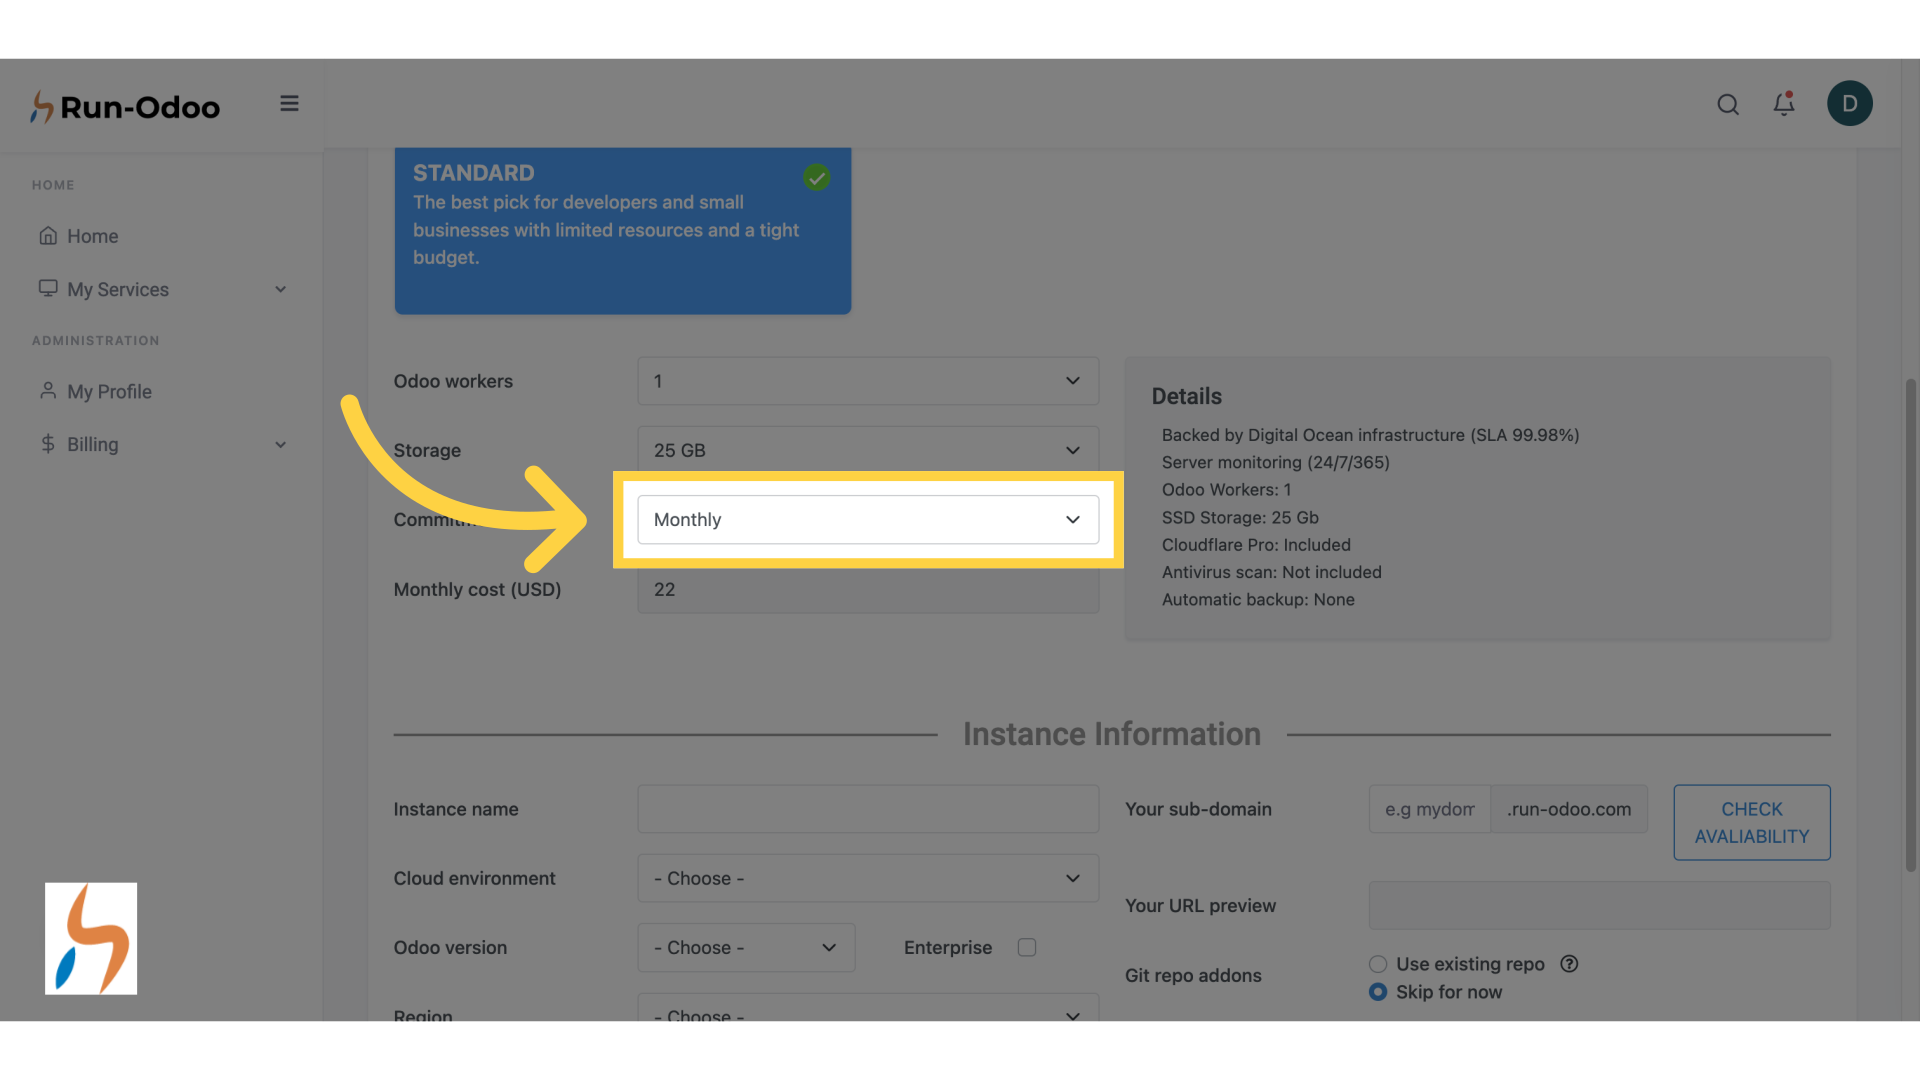
¶ 9. Selecting Monthly
We will confirm the monthly offer here.
¶ 10. Click "Instance name"
Here comes the time to give a name to your instance.
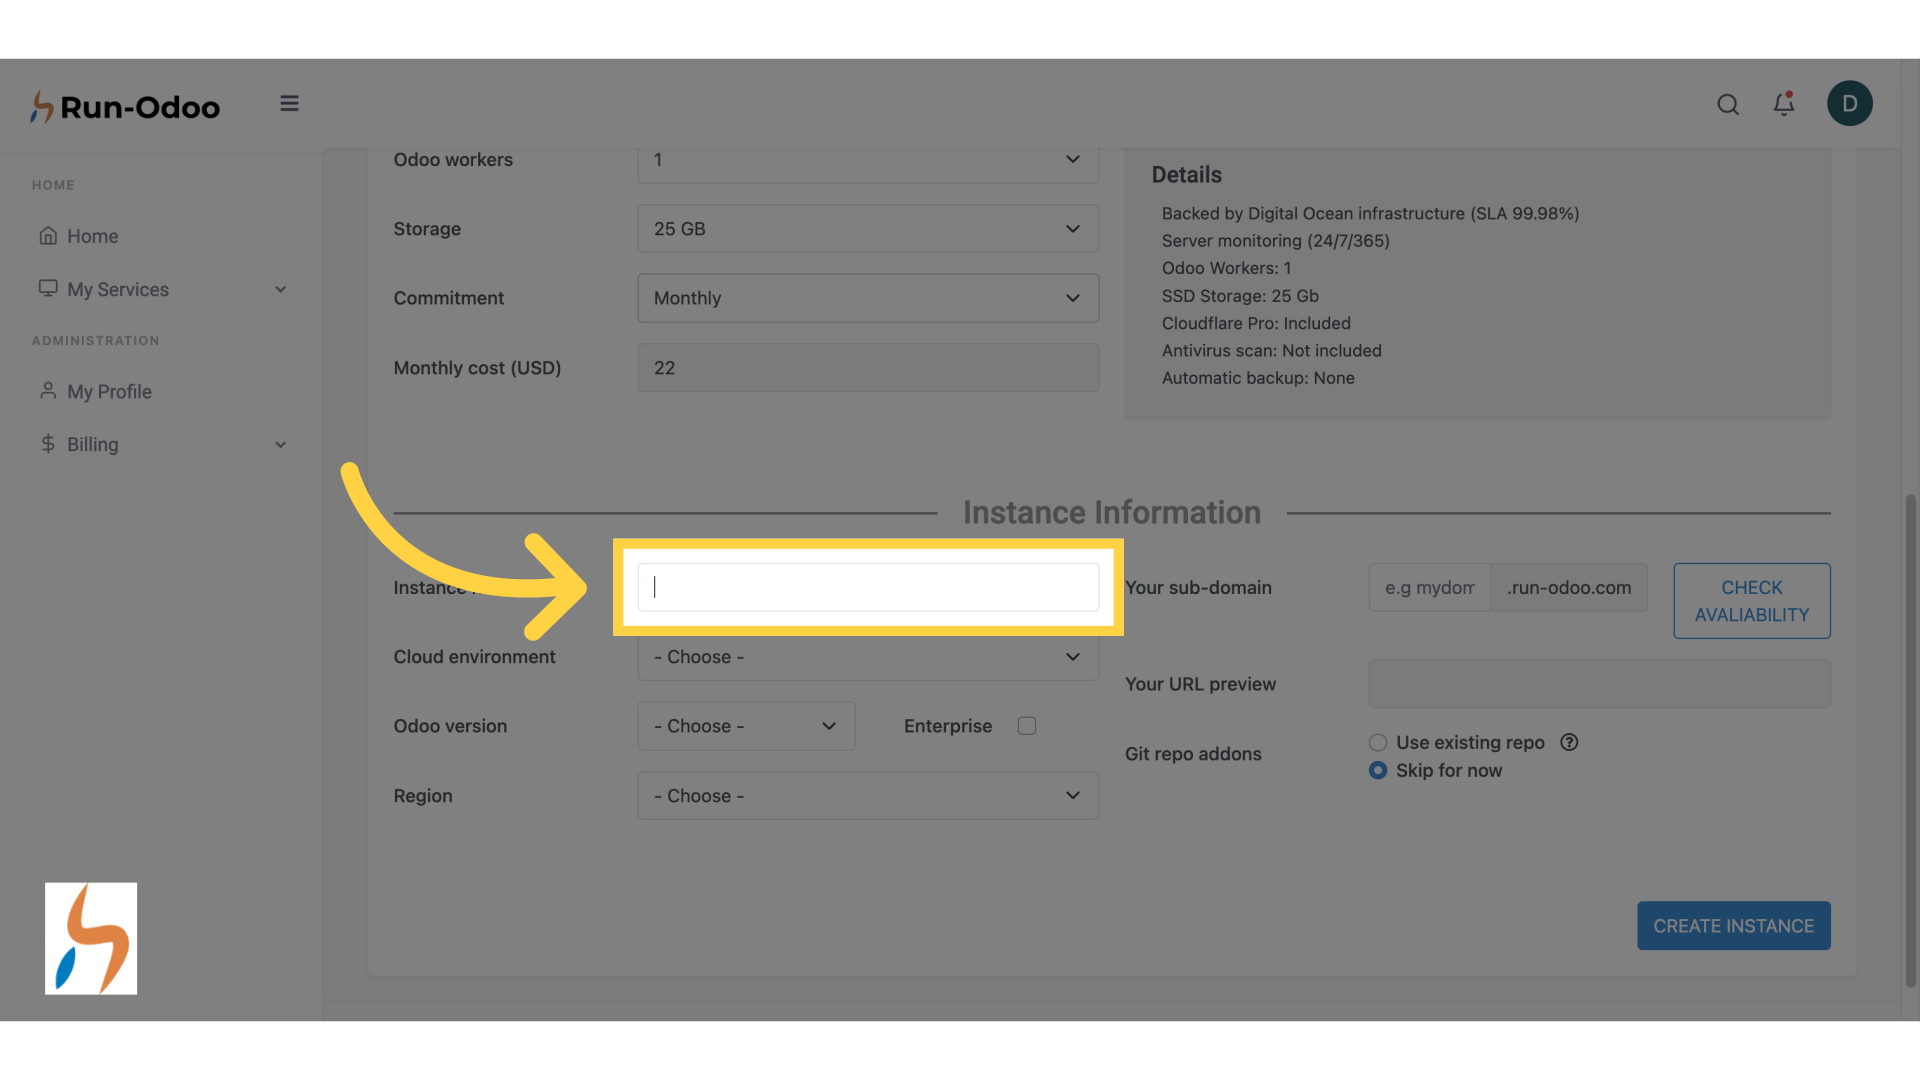
¶ 11. Name your instance
We will input "my-first-test" as an example.

¶ 12. Pick your environment
Then, select the environment you wish to use.
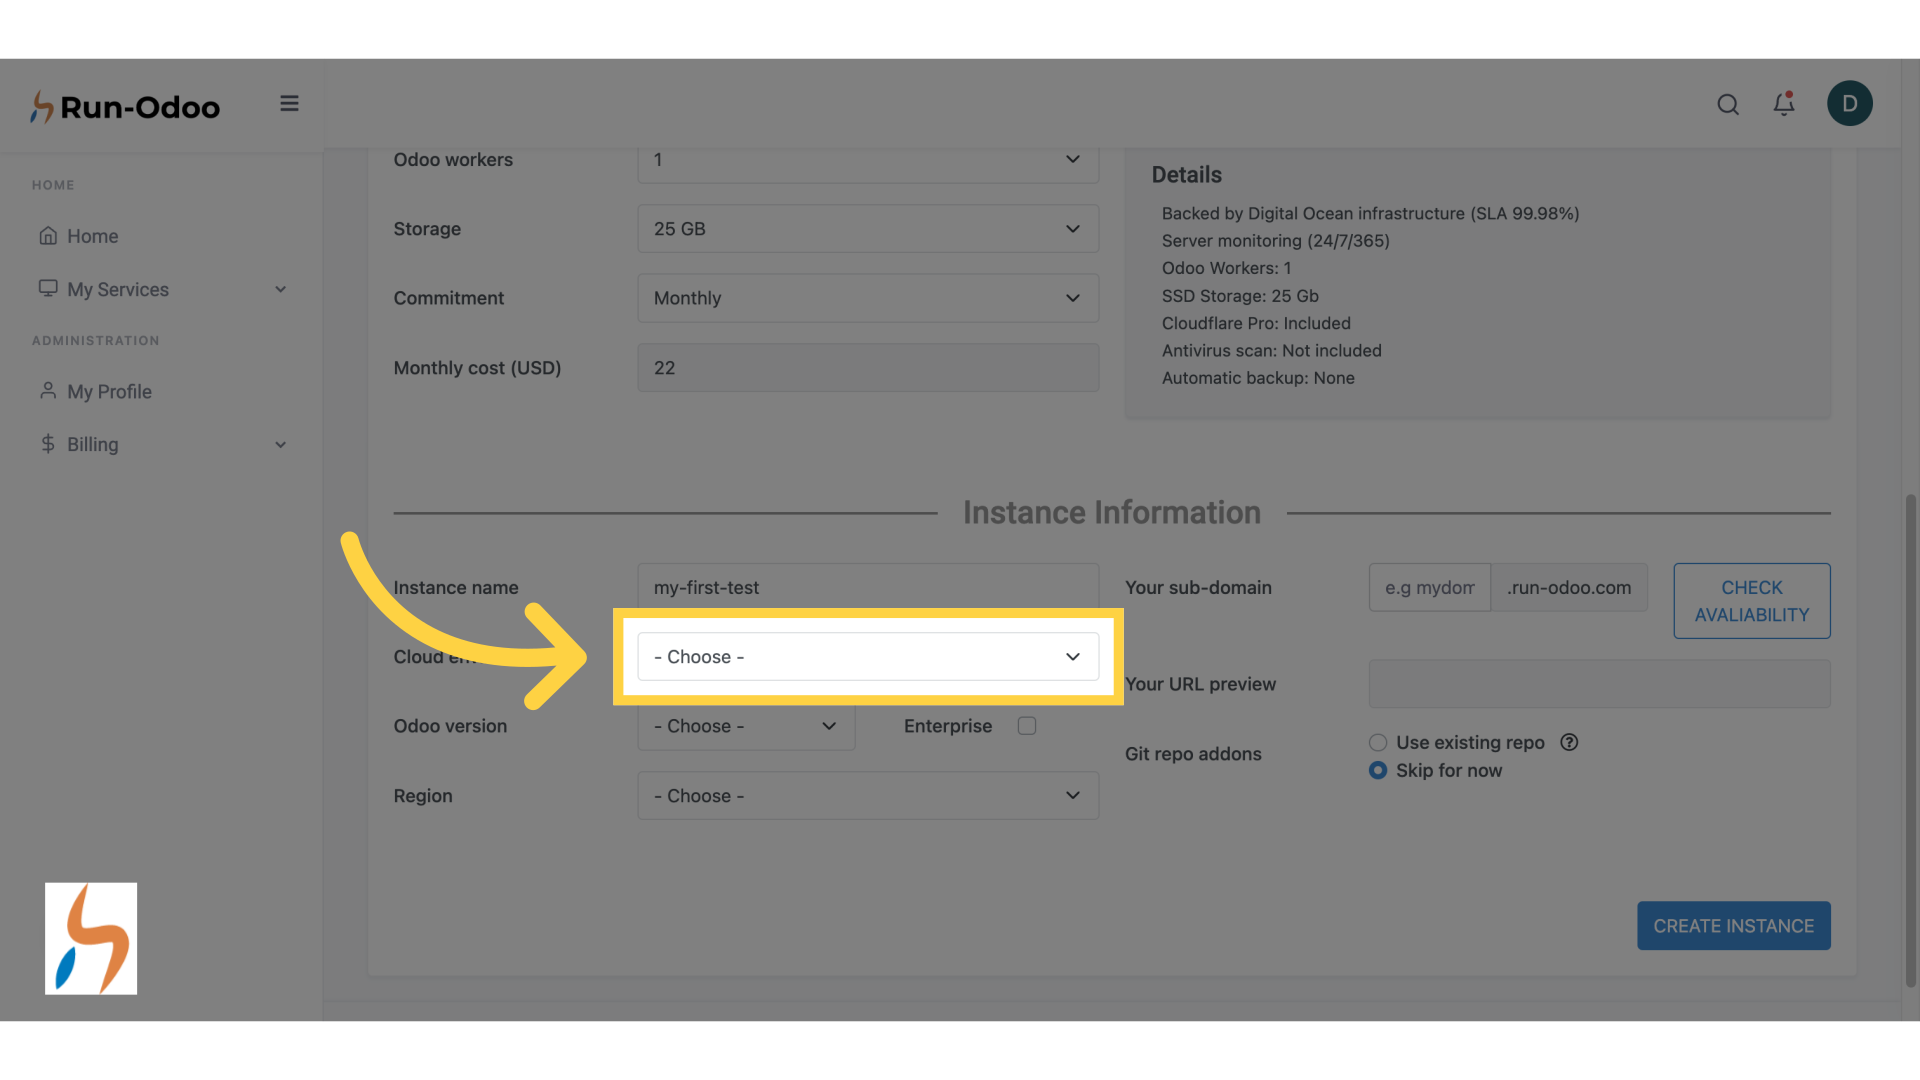
¶ 13. We are choosing Development
In this case, we will pick "Development".

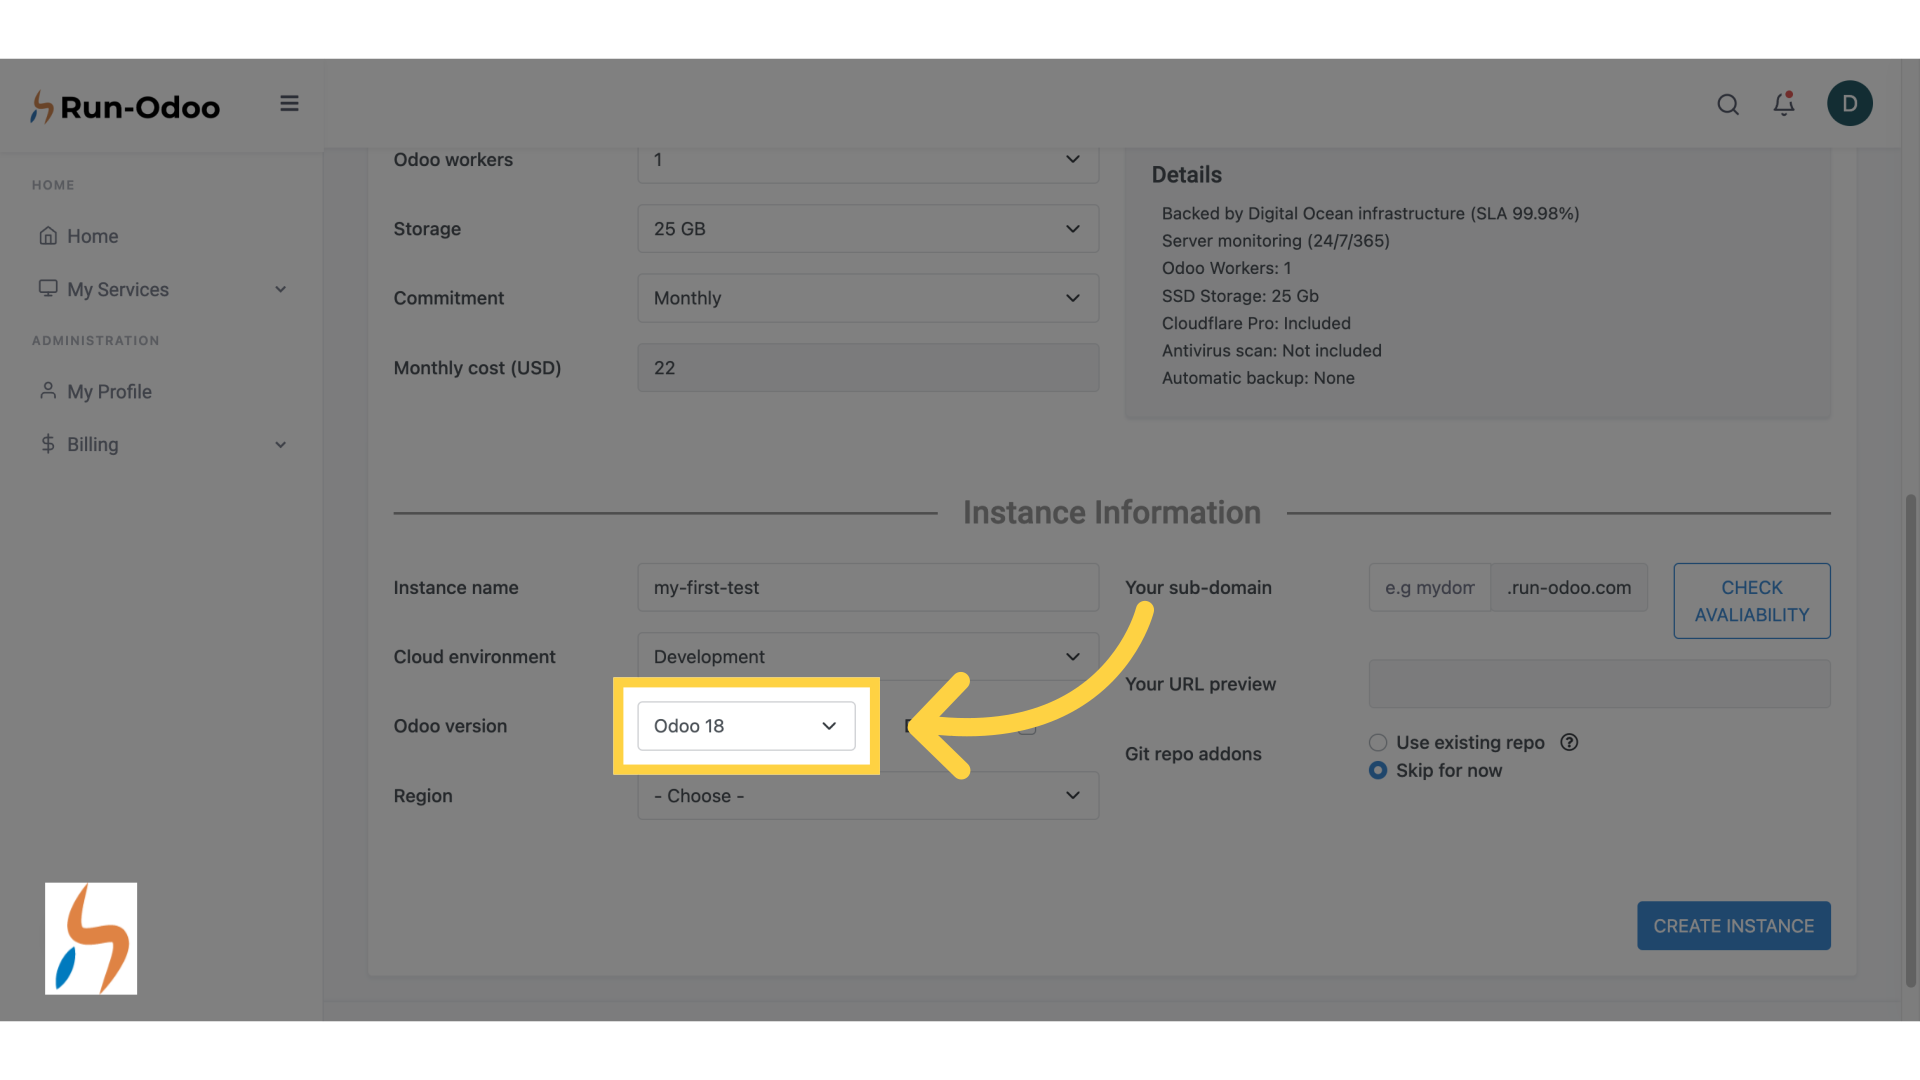
¶ 14. Choose your Odoo version
Select the Odoo version you wish to deploy. Please note that the check box should only be used if you wish to deploy the Odoo Enterprise version.

¶ 15. We selected Odoo 18
Let's pick an Odoo 18 community version here.
¶ 16. Pick. a region for your instance
Choose a geographic location from the provided list. Please make sure to pick a location as close as possible to your Odoo users.

¶ 17. I picked London
Here, we will pick London for our example.

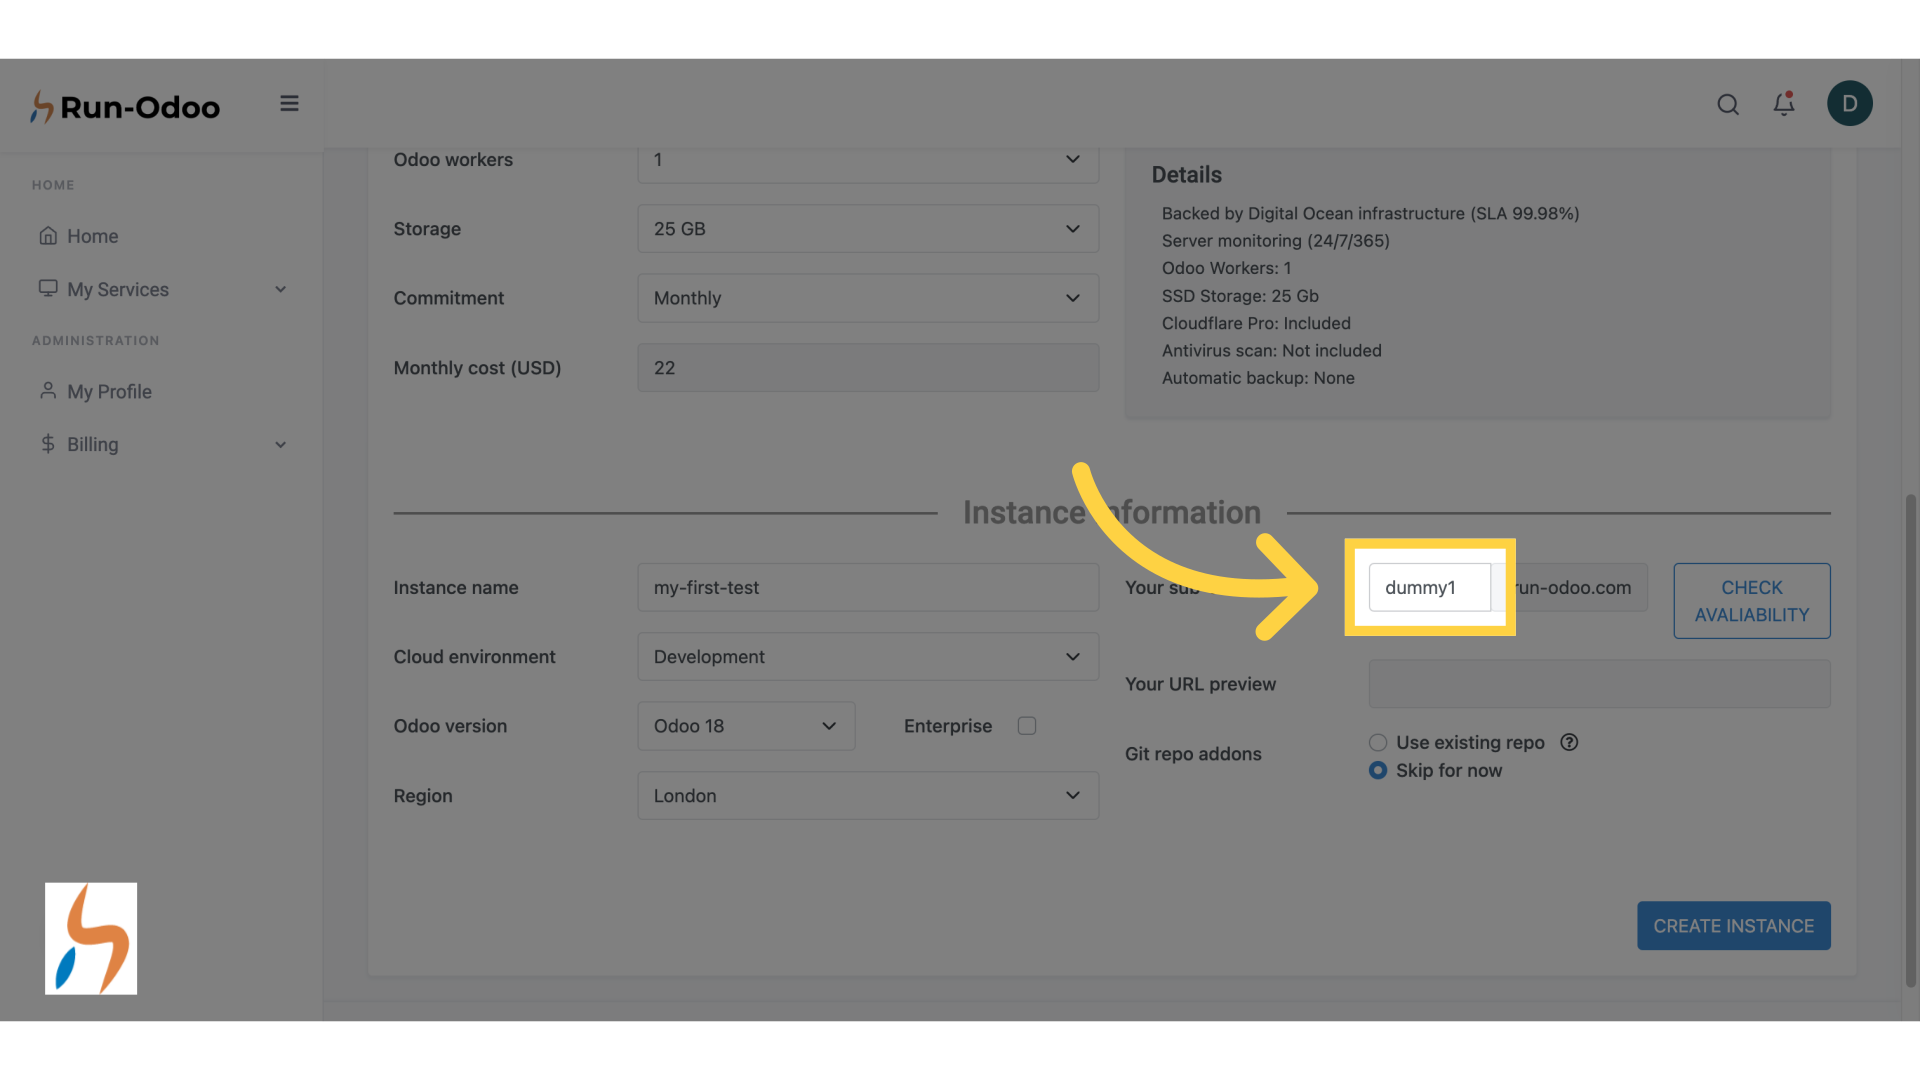
¶ 18. Input the subdomain you would like to use to access your instance
Then, Click on the subdomain field to define the url that will be used to access your Odoo solution online. You will notice that development instances contain the word "DEV" inside their url.
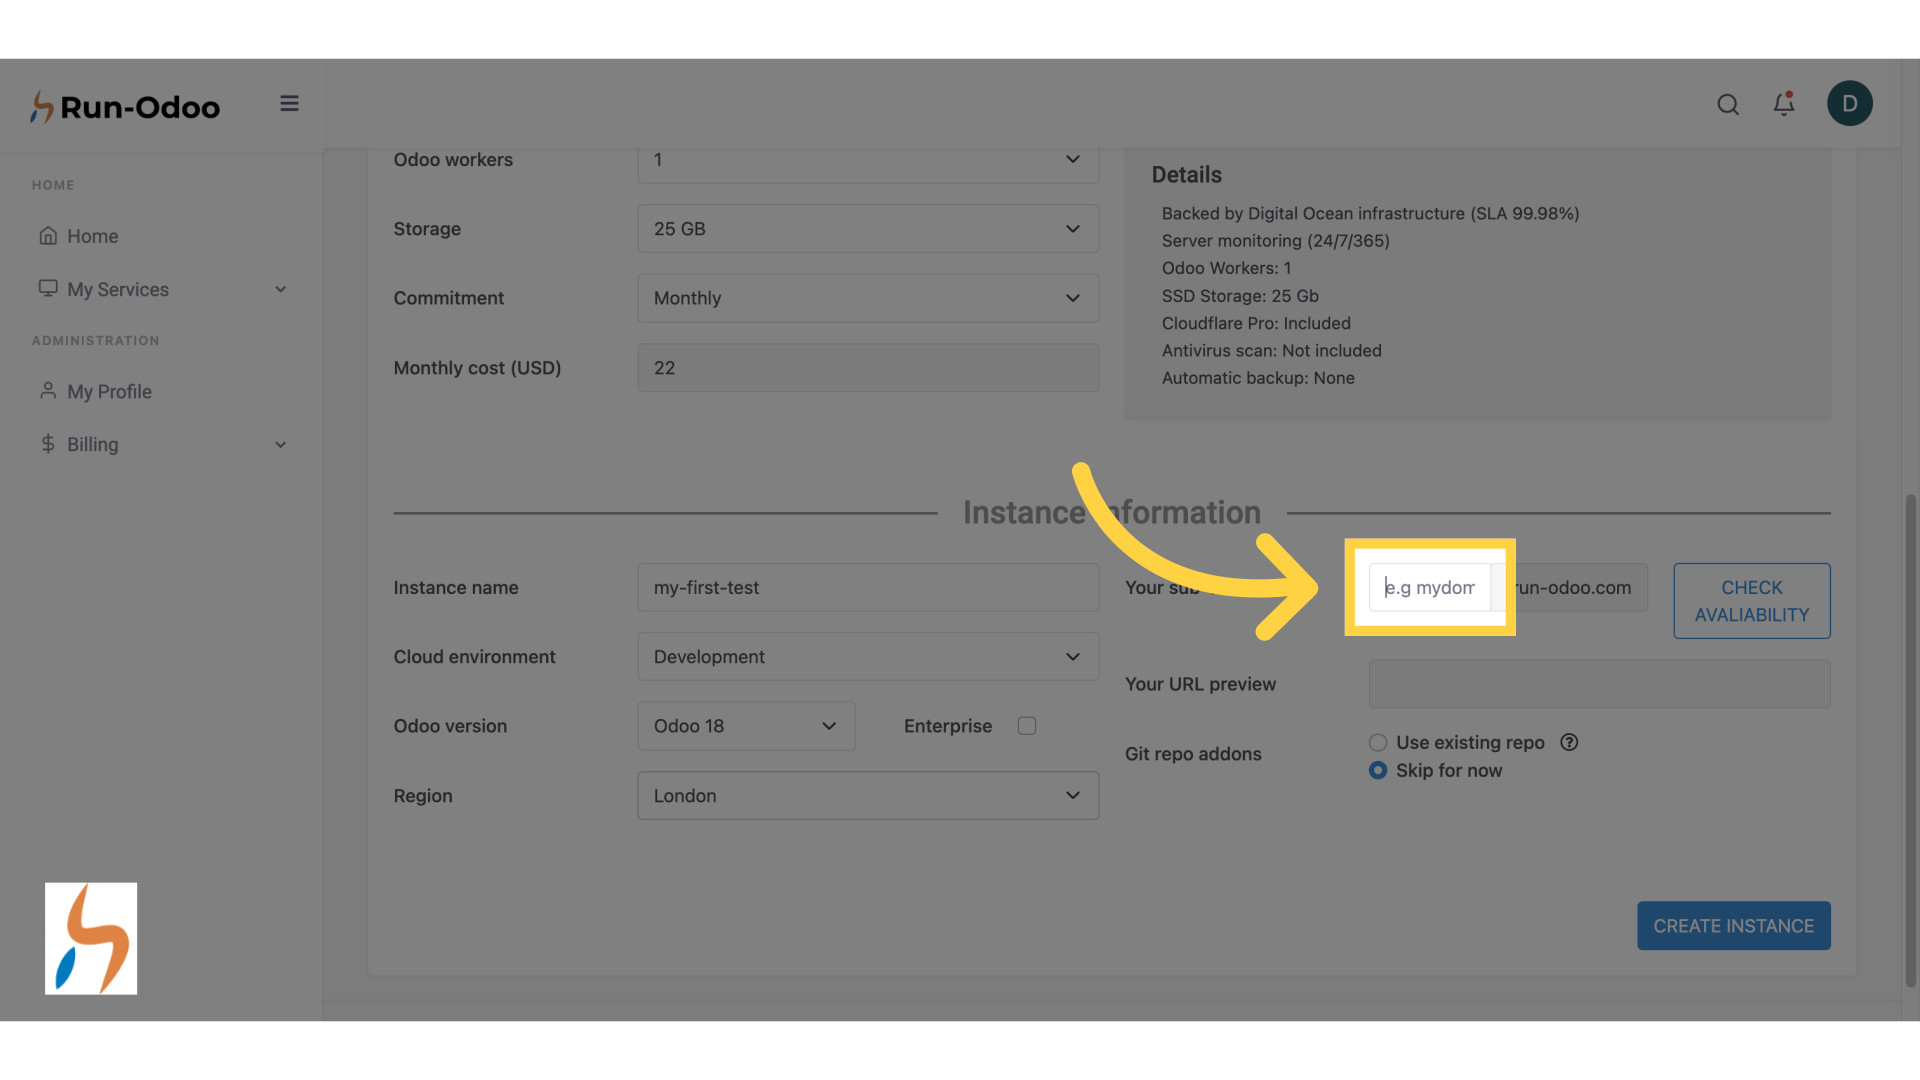
¶ 19. I filled in "dummy1" for our example
For our example, I will input "dummy1".
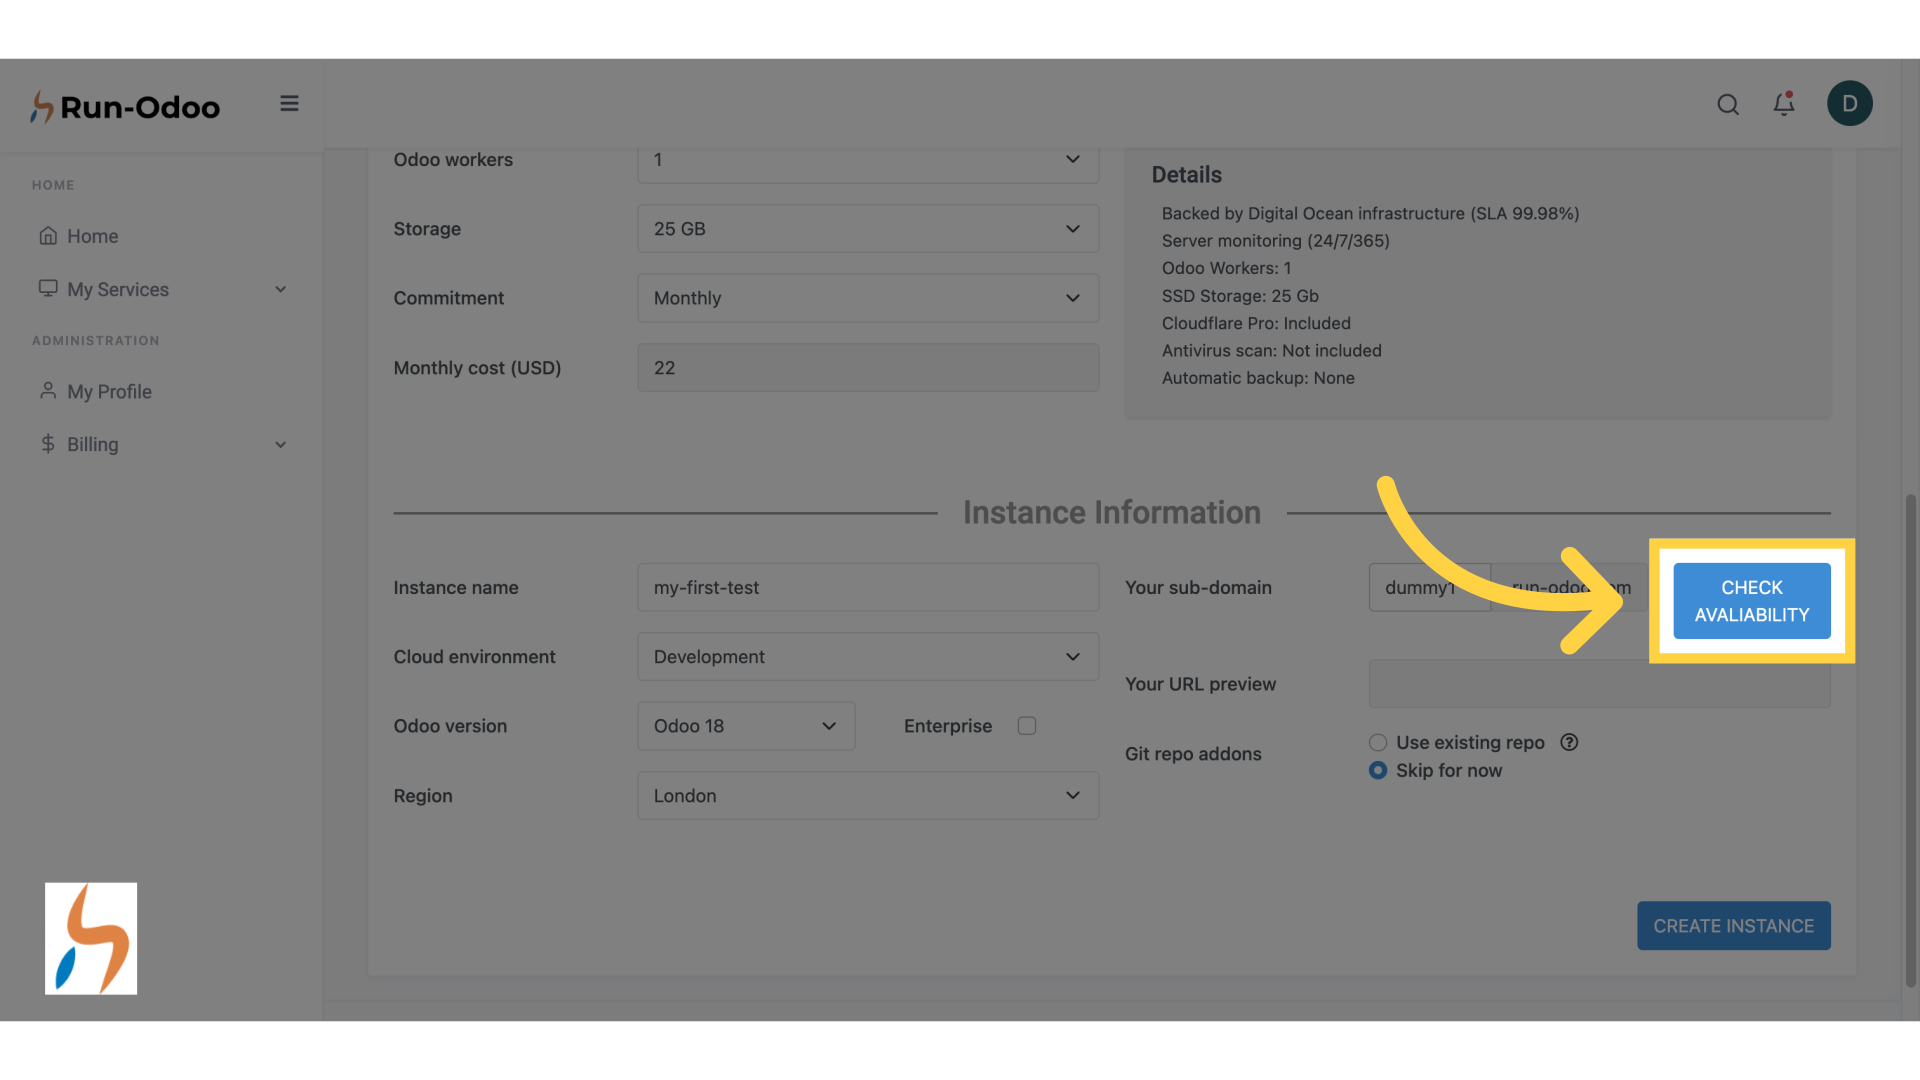
¶ 20. Click "CHECK AVALIABILITY"
Verify the availability of this sub-domain on runodoo.com by clicking the specified button.
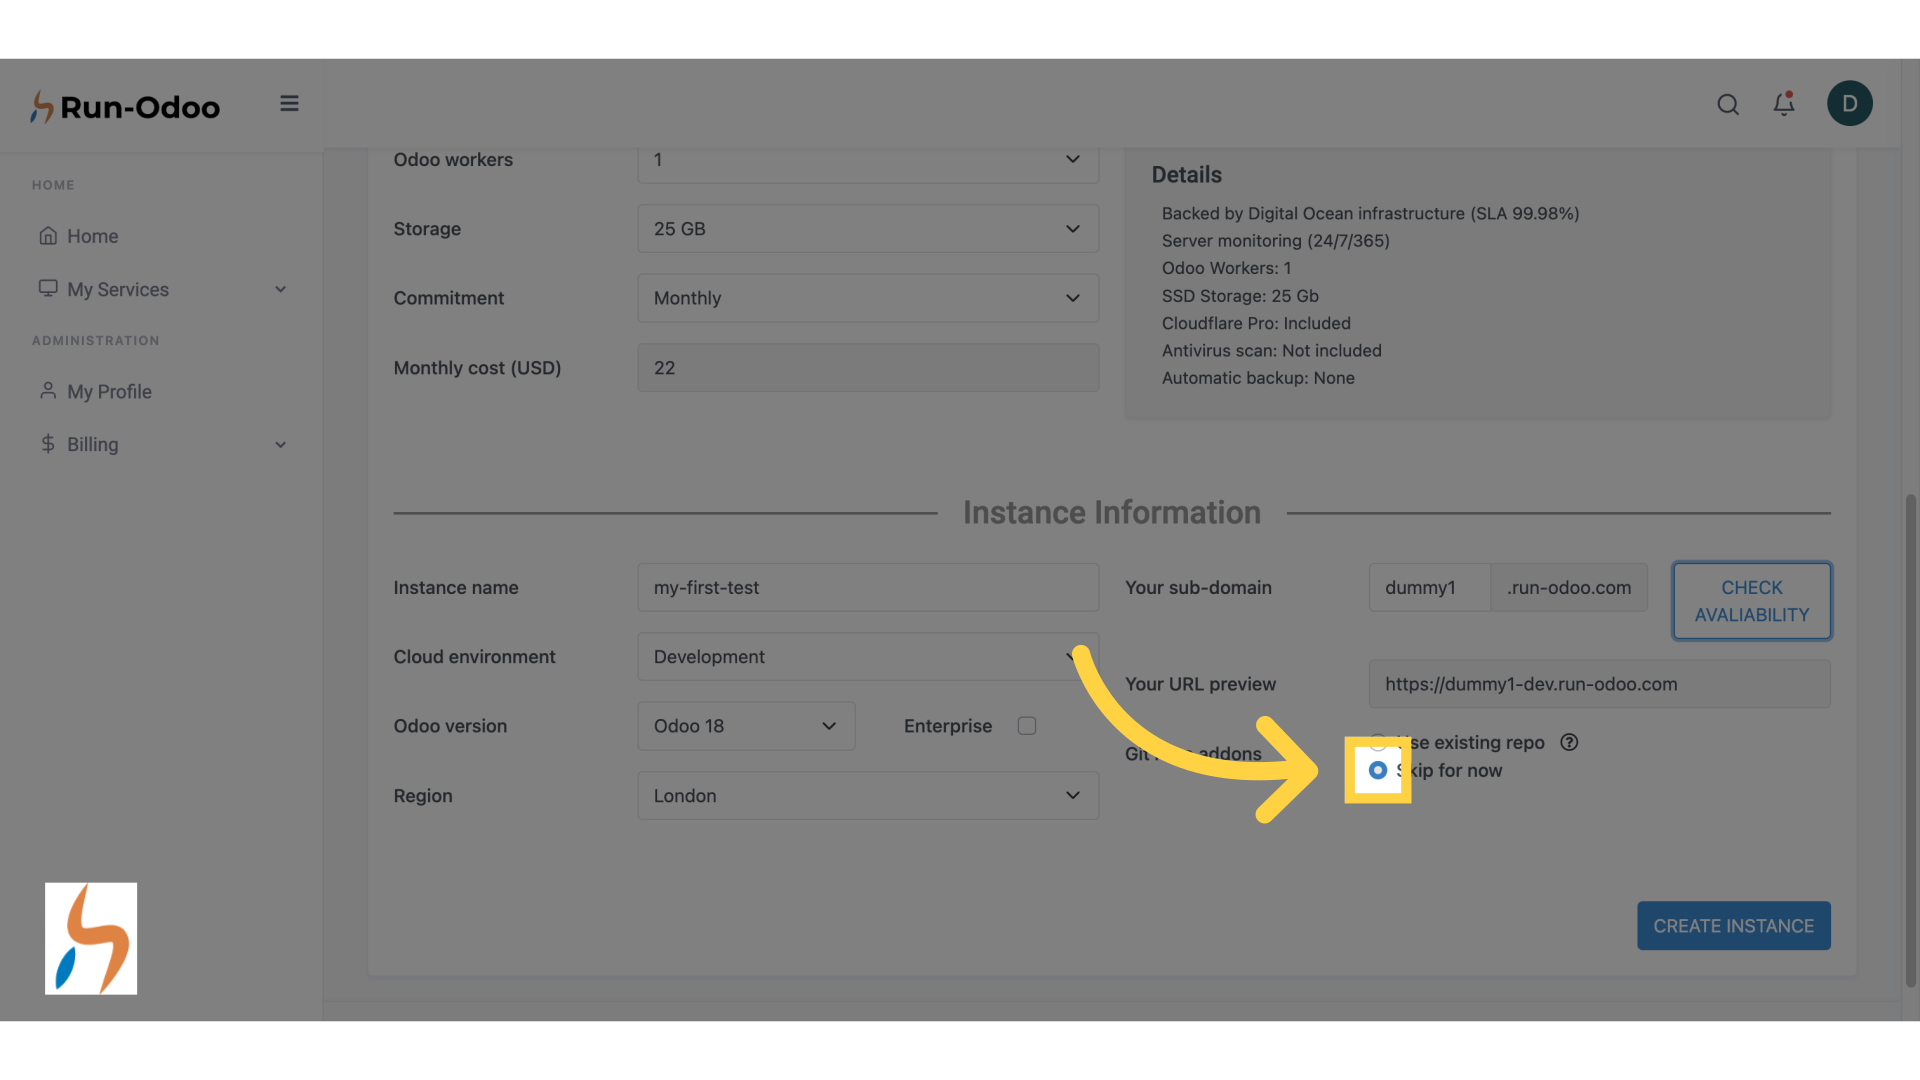
¶ 21. Let's get started without a repo for now
Let's skip the repo integration for now. Don't worry; you may add as many repositories as you want later once the instance has been created.
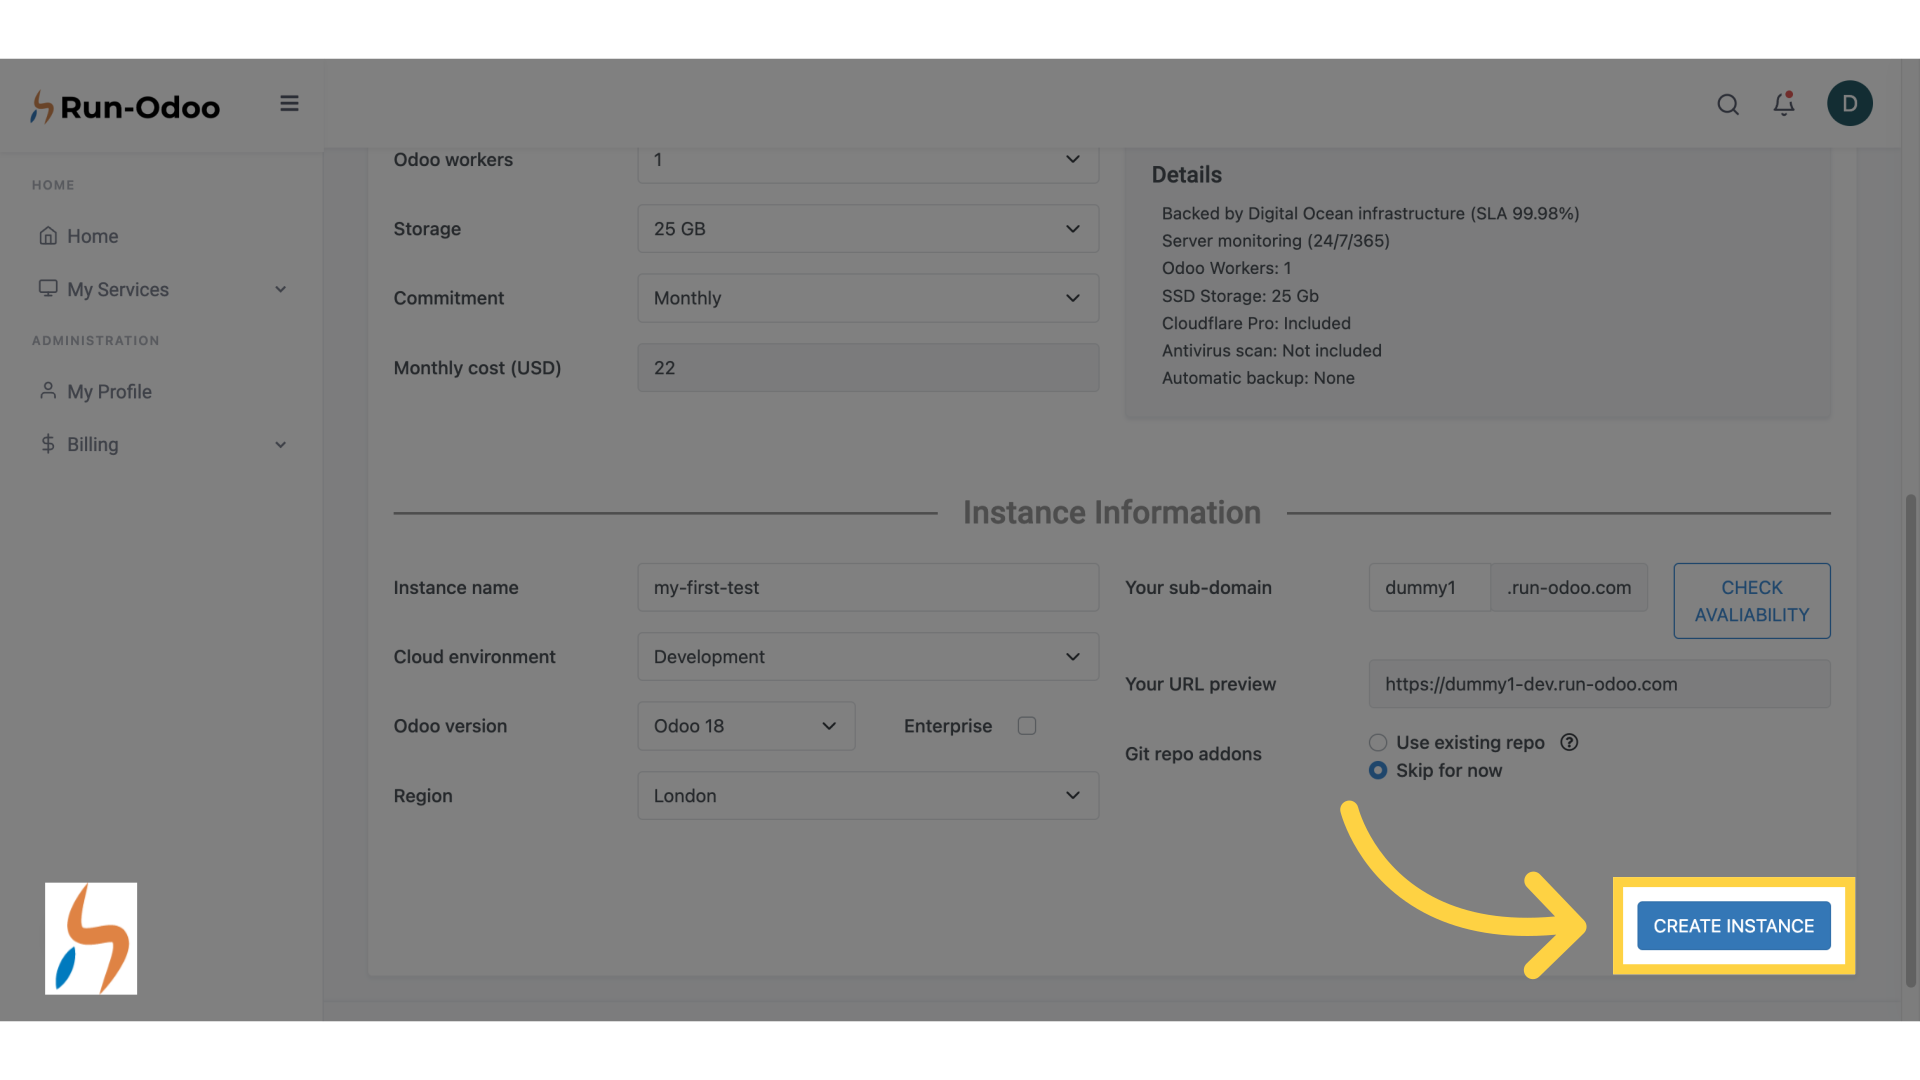
¶ 22. Click "CREATE INSTANCE"
Click on CREATE INSTANCE and you are good to go.
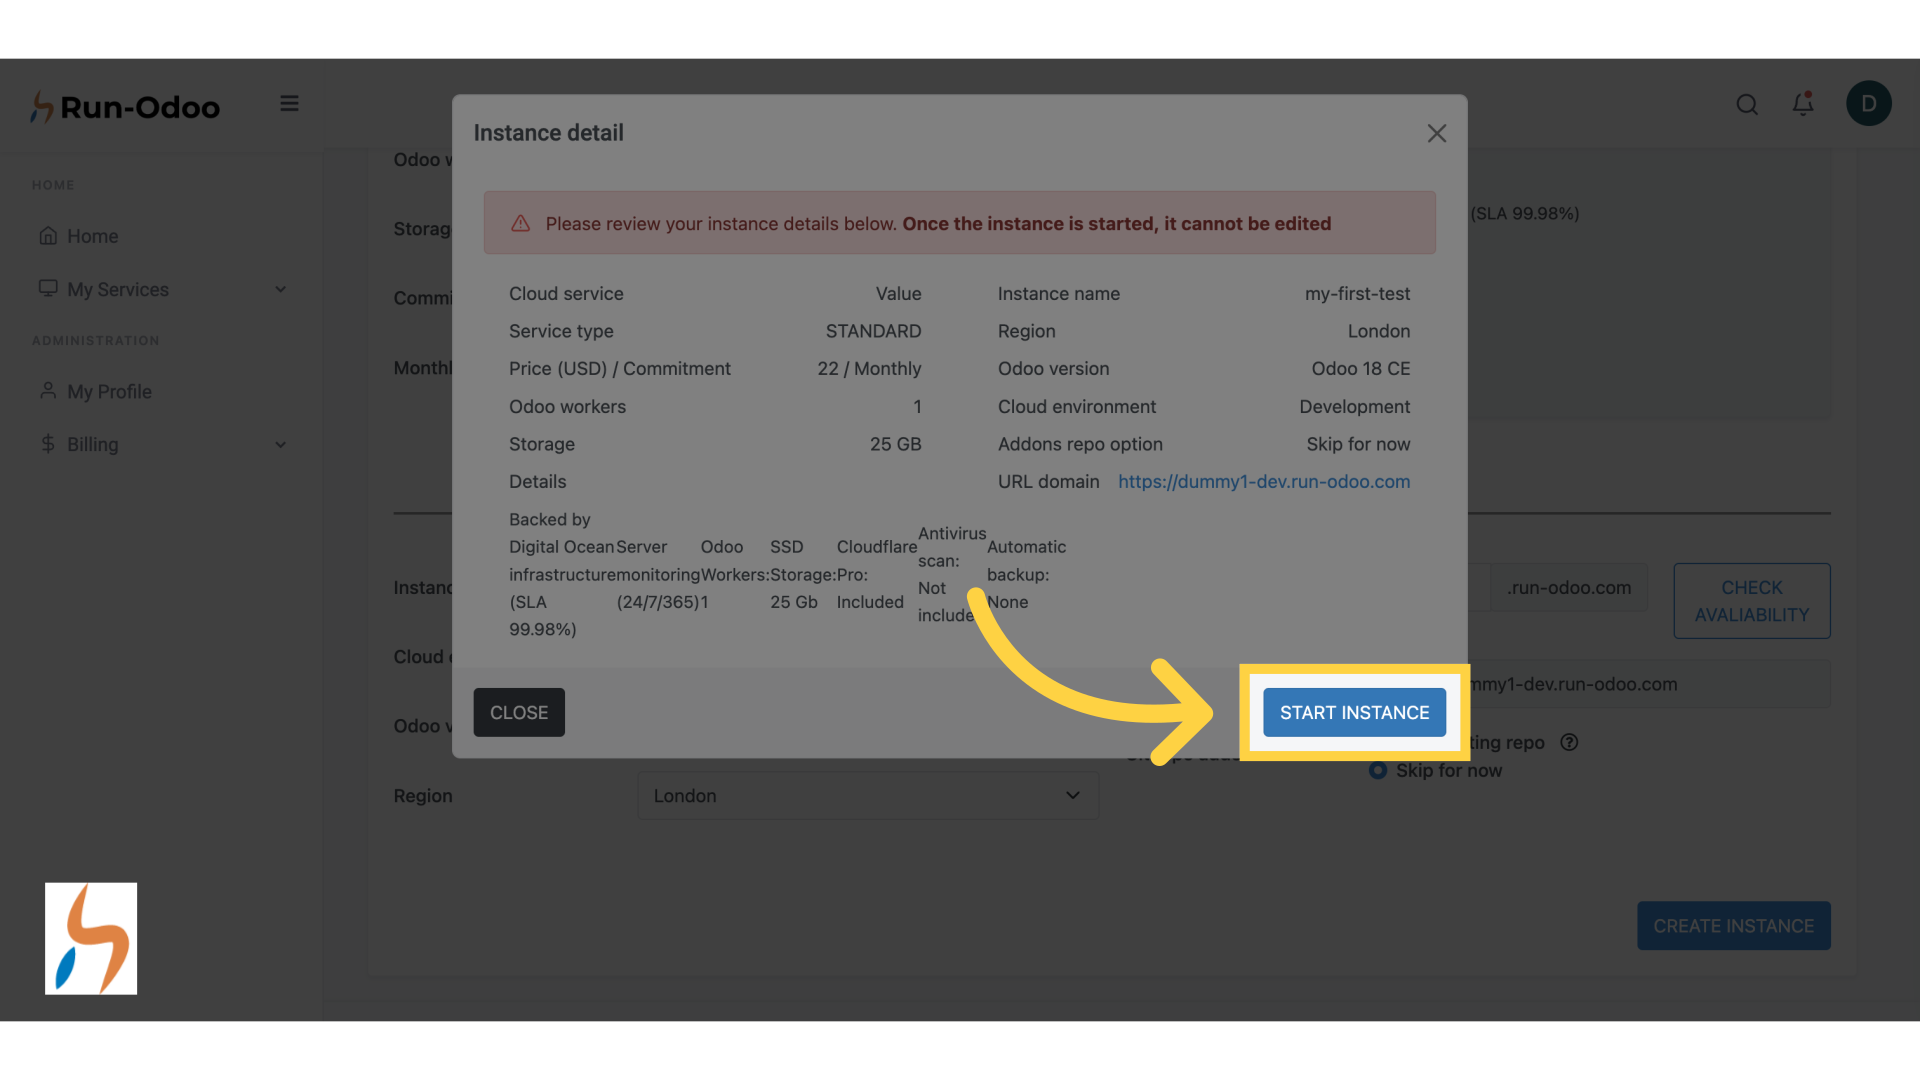
¶ 23. Click "START INSTANCE"
A final screen will be displayed summarizing your order. Once you have checked everything is in order, click on START INSTANCE to initiate the creation.
This guide walked you through the detailed process of creating your first DEV instance with RunOdoo. For more information, check our detailed wiki sections.